Closet Organizer DIY Your Way to a Perfect Space

Tackling a closet organizer DIY project is one of the most satisfying ways to turn a cluttered space from chaotic to calm. This isn't just about tidying up; it's about building a custom system that works for your wardrobe and your daily routine, allowing you to get the most out of every single inch.
Transform Your Closet from Chaos to Calm
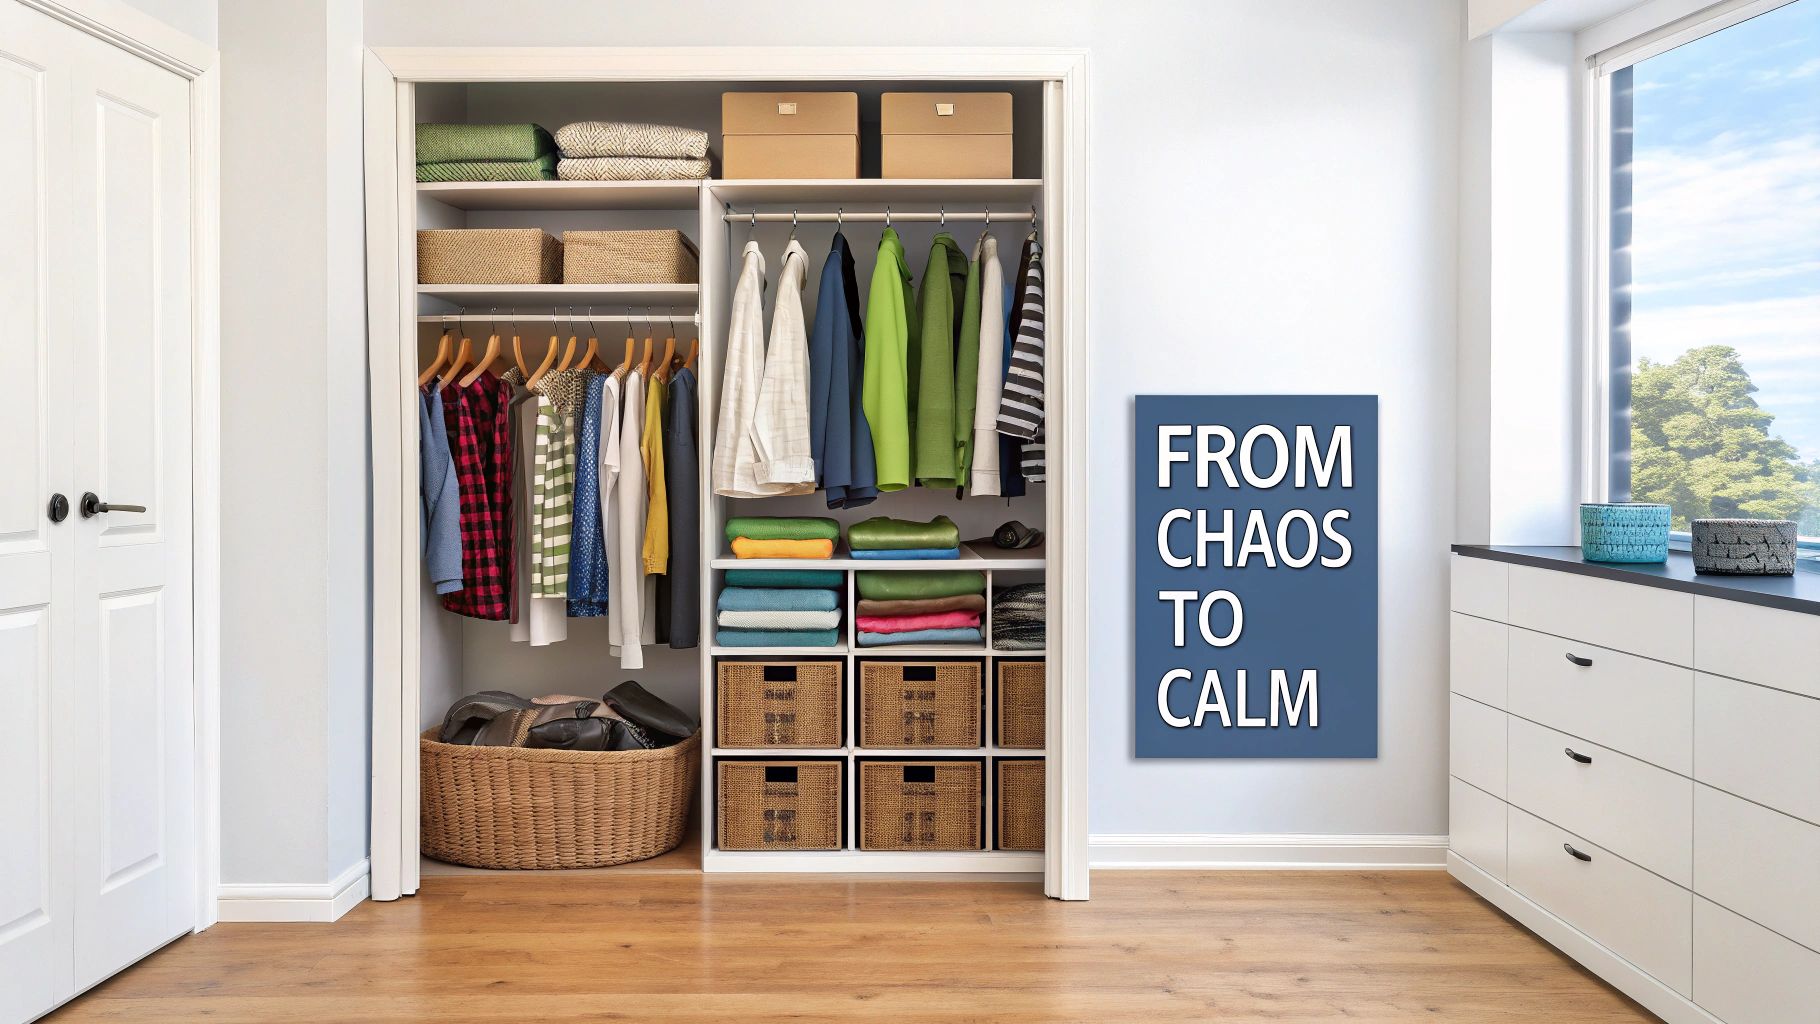
We've all been there—staring into a jam-packed closet, feeling that familiar wave of frustration. It’s more than just a mess; it's a daily dose of stress that you just don't need. A well-thought-out closet organizer DIY project is the perfect antidote, offering a real solution that goes way beyond generic organizing tips.
The real goal here isn't just to make things look neat. It’s to create a logical, intuitive system of closet organization that fits your lifestyle and your clothes like a glove. It's time to move past the one-size-fits-all organizers that never quite work, leaving you with awkward gaps or shelves that don't fit what you actually own.
The True Value of a Custom Closet System
When you build your own organizer, you’re in complete control. You get to decide the exact height for your hanging rods to keep dresses from dragging on the floor. You can set the shelf depth perfectly for your chunky sweaters and design just the right number of cubbies for your shoe collection. This is a level of personalization you’ll never find in a box.
This desire for smarter, more personal storage isn't just a niche idea—it’s a growing movement. The global home organization market is expected to grow significantly, with a report by Mordor Intelligence showing just how much people are prioritizing intelligent space management at home.
Designing your own system brings real, tangible benefits that make everyday life a little easier:
- Less Morning Stress: When everything has its own designated home, you can find what you need and go. No more frantic searching.
- Better Clothing Care: Proper closet organization means fewer wrinkles, snags, and damage, which helps your favorite pieces last longer.
- Seriously Maximized Space: A custom design uses every last inch of your closet. It's not uncommon to double or even triple your usable storage space.
A DIY closet organizer is more than a weekend project—it's an investment in a smoother, more peaceful daily routine. When you design a space for the things you actually own, you stop clutter before it even starts.
Think of this project as a chance to create lasting order. Before you even think about picking up a hammer, the first real step is to declutter your wardrobe. This ensures you're building a home only for the clothes you truly love and wear, setting your project up for success from the very beginning.
How to Plan Your Perfect DIY Closet System
Before you touch a single tool or spend a dime on materials, let's talk about the most crucial part of any closet organization project: the plan. A great build starts with a great design. This isn't just about making something that looks nice; it's about crafting a system that works for your life and your clothes. You're building a home for every single item you own, so it has to be right.
The first step is always the toughest, but it's non-negotiable. You have to empty the entire closet. I mean everything. This gives you a clean slate and, more importantly, a very real look at what you've actually been storing in there. It’s always an eye-opener.
Take a Wardrobe Audit
You simply can't organize what you haven't measured. Get started by sorting your clothes into distinct piles. Don't just lump all "shirts" together—break them down into long-sleeved, short-sleeved, and whether they need to hang or can be folded. The more specific you are now, the better your final design will be.
- Hanging Items: How many long coats, gowns, or dresses do you have? Measure the longest one to figure out exactly how much vertical space you'll need. Got a ton of blouses and button-downs? A double-hang rod setup could literally double your usable space overnight.
- Folded Items: Now, count up your sweaters, jeans, and t-shirts. This number directly tells you how many shelves you'll need and how deep they should be to avoid messy stacks.
- Shoes and Accessories: We can't forget the rest! Make a tally of shoes, bags, belts, and scarves. Think about how you like to see them—on angled shelves for shoes, in dedicated cubbies for purses, or maybe in drawers for smaller items.
With your inventory complete, grab a tape measure. Get the exact height, width, and depth of your closet space. Be sure to jot down the location of any pesky obstacles, like light fixtures, electrical outlets, or weird angled walls. These numbers are the bedrock of your entire build.
Sketch Your Ideal Layout
Okay, now for the fun part. It's time to translate all that data into a visual plan. You don't need fancy software; a simple sketch on a piece of paper works perfectly.
Start blocking out zones based on your audit. For example, if you discovered you own 30 sweaters but only a handful of dresses, your design should reflect that by dedicating far more space to shelves than to a long-hang section. To get the most out of your closet, it helps to understand some basic space planning principles that focus on making a space truly functional.
Your closet audit is your blueprint. The numbers don’t lie—designing for the wardrobe you actually have, not the one you think you have, is the secret to a frustration-free and highly functional closet organizer.
Think about closet organization tools from the get-go. Factoring in items like MORALVE space-saving hangers at this stage can completely change your layout. When you know you can hang five pairs of pants in the same footprint as one, you can design for less horizontal rod space, freeing up valuable real estate for more shelves or drawers.
For a more detailed walkthrough of this process, our guide on how to design a closet has some extra tips. Planning ahead like this ensures you don't build a beautiful new system that's already outdated for your needs.
Choosing Materials and Budgeting Your Project
With a solid plan sketched out, it’s time to get into the fun part: picking your materials. This is where your vision really starts to take shape, and it's a bit of a balancing act between your budget, the look you're going for, and your DIY skill level. The choices you make here will define the durability and overall feel of your finished closet organizer.
Think of it as choosing the foundation for your closet organization—you need something sturdy that’s right for the job. For most DIY closet systems, you’ll be looking at three main players: plywood, MDF (medium-density fiberboard), and melamine.
Material Pros and Cons
Each of these materials has its own personality, so let's break down what they bring to the table for a closet organizer project like this.
- Plywood: This is the workhorse of the DIY world for a reason. Plywood is incredibly strong, holds screws like a champ, and won't sag easily over long spans, which is perfect for shelves you plan on loading up with heavy sweaters or storage bins. It does require finishing work—sanding, priming, and painting—but its durability is tough to top.
- MDF: If you're dreaming of a perfectly smooth, flawless painted finish, MDF is your best friend. Its uniform surface is a breeze to paint. But it has a few quirks. It's surprisingly heavy, really doesn't like moisture, and can sag under its own weight if you don't give it enough support.
- Melamine: Think of melamine as particleboard with a tough, plastic-like coating already applied. The huge plus here is that it’s pre-finished, which saves you a ton of time on painting. It's also super easy to wipe clean. The downside? It can chip when you’re cutting it if you aren’t careful.
The right material isn't just about the price tag; it's about matching its strengths to your design. For heavy-duty shelving, plywood is king. For a sleek, painted look that won't carry a massive load, MDF shines.
Creating a Realistic Budget
Budgeting for a DIY closet isn't just about the cost of the wood. All the little bits and pieces—the hardware—can really add up if you don't account for them from the start.
I always recommend making a detailed shopping list before you even step foot in the hardware store. Jot down every single thing you'll need:
- Screws and fasteners
- Shelf pins or brackets
- Drawer slides (if you're adding drawers)
- Hanging rods and their supports
- Wood glue, primer, and paint
This is where you'll really see the savings from doing it yourself. Here’s a quick look at how the costs can shake out for a standard 6-foot reach-in closet to give you a clearer picture of the value of a DIY approach.
DIY vs Custom Closet Cost Comparison
| Expense Item | Estimated DIY Cost | Estimated Custom Install Cost |
|---|---|---|
| Materials (Wood, Rods) | $200 - $500 | $500 - $1,500 |
| Hardware (Screws, Brackets) | $50 - $150 | Included in Install |
| Paint & Finishing Supplies | $50 - $100 | Included in Install |
| Labor | $0 (Your Time) | $500 - $1,500+ |
| Total Estimated Cost | $300 - $750 | $1,000 - $3,000+ |
As you can see, the savings are significant. By taking this on yourself, you're putting a substantial amount of money right back in your pocket.
If you’re aiming to get the most bang for your buck, our guide on a closet makeover on a budget is packed with tips for getting that high-end look for less. Building it yourself gives you total control to make smart trade-offs, ensuring you get the exact closet you want without that custom-built price tag.
Building and Installing Your Closet Organizer
Alright, this is where the sawdust flies and your plan starts to look like a real closet organizer. All that careful measuring and planning is about to pay off. We're moving from blueprint to build, transforming a stack of materials into a functional, sturdy system that’s custom-fit for your space.
Take a deep breath and don't rush this part. The difference between a wobbly, amateur-looking job and a rock-solid, professional finish comes down to patience and precision. I always start by assembling the main vertical towers on a flat, open surface, like a garage floor. A pro tip? Always use a bit of wood glue in the joints before you drive in your screws. That simple step creates an incredibly strong bond that adds years to the life of your organizer.
Assembling the Core Framework
Before you even think about attaching anything to the wall, do a quick "dry fit" of your main pieces. Just lay everything out on the floor to make sure it all lines up the way you sketched it. This is your last chance to easily check that shelves are the right width and dividers are the right height. Trust me, it's a lot less painful to make a small cut now than it is after something is already screwed into the wall.
This is also a good time to double-check your material choice against your project goals.
As you can see, plywood is fantastic for its raw strength, but if you're planning on a flawless painted finish, MDF is often the better way to go. Confirming you've made the right call here will save headaches later.
Secure Mounting for Lasting Stability
With your towers built, it's time to mount them. This is the most critical step. Your closet walls are the foundation for the whole system, so finding and using the wall studs isn't optional—it's essential. Grab a stud finder, locate those studs, and mark them clearly with a pencil. These are the structural supports in your wall, and anchoring directly into them is the only way to guarantee your organizer can handle the weight of your wardrobe without pulling away from the wall.
Slide your first tower into place. Now, grab your level. Before a single screw goes in, you have to make sure the unit is perfectly plumb (that’s builder-speak for vertically straight).
- Check Vertically: Press the level against the side of a vertical panel. The bubble should be dead center.
- Check Horizontally: Lay the level across a shelf to make sure it isn’t tipping forward or backward.
Your level is your best friend during this phase. A system that's even a little bit crooked doesn't just look off—it puts constant stress on the joints and mounting hardware, which will weaken the whole structure over time.
Securing your organizer properly is the key to a safe and long-lasting closet system. A poorly mounted unit can be a serious hazard, so take your time and do it right.
Dealing with Common Installation Challenges
Let's be real: no house is perfectly square. You're likely to run into slightly uneven walls or floors. If you find a gap between your organizer and the wall, don't just crank down on the screw and hope for the best. Instead, slide small wood shims into the gap until it’s snug, then drive your screw through the unit and the shim into the stud. This prevents the frame from warping under pressure.
Another trick I love, especially if I'm working alone, is using a cleat system. A cleat is just a horizontal board you securely mount to the wall studs first. Then, you can rest your organizer components on top of it while you screw them in place. It helps distribute the weight evenly and makes getting everything perfectly level a whole lot easier.
Adding Custom Touches to Maximize Your Space
Now that the main frame of your closet organizer DIY project is solid and in place, we get to the fun part. It's time to add the personal details that will take it from a set of shelves and rods to a truly customized storage masterpiece. This is your chance to solve all those little frustrations you’ve been living with.
Think about all the things that never really had a home before—scarves, ties, belts, jewelry. They usually end up in a jumbled mess, right? Simple upgrades like dedicated slide-out racks or drawer dividers give every last accessory its own spot, making your morning routine so much easier.
Smart Additions for Ultimate Functionality
If I can give you one piece of advice, it's this: build in adjustability from the start. Instead of locking your shelves into a permanent position, drill a series of shelf pin holes along the vertical dividers. This gives you the freedom to move shelves up or down as your needs change—a lifesaver when you’re swapping chunky winter sweaters for summer tees.
Drawers are another must-have for great closet organization. Adding a few to your design is perfect for hiding away socks, underwear, and other smaller items, giving the whole closet a much cleaner, streamlined look. It's a simple touch that feels surprisingly high-end.
The best customizations are the ones that fix a specific problem. Always losing your socks? Drawer dividers are the answer. Sweaters in a constant state of disarray? Add another shelf.
Doubling Down on Space
Even with a great design, hanging space is always at a premium. This is where you have to get creative. One of the easiest and most effective upgrades is incorporating MORALVE space-saving hangers. These things are incredible—a single hanger can neatly hold several pairs of pants or shirts, effectively multiplying your rod space without any extra construction.
Just by swapping out your old, bulky hangers, you might discover you only need one hanging rod where you'd planned for two. Imagine what you could do with that extra section—more shelves, some cubbies for shoes, maybe a spot for luggage. For even more ideas, check out these clever 10 storage solutions for small spaces to get your creativity flowing.
And don't forget about lighting! You'd be amazed at what a difference some simple, battery-powered LED strip lights can make. Stick them under shelves or along the sides to light up those dark corners. You’ll finally be able to tell your navy blue shirts from your black ones. These little details are what turn a good project into a great one you'll appreciate every single day.
Common Questions About Your DIY Closet Project
Jumping into a DIY closet organizer project can feel a little daunting, and it's totally normal to have questions swirling around before you even pick up a tool. Let's tackle some of the most common ones right off the bat so you can feel confident and ready to build something you’ll love.
One of the first things people ask is, "Do I need a garage full of fancy power tools?" The answer is a resounding no. Honestly, you can get professional-looking results with just a few basics: a good drill, a level, a tape measure, and a saw.
And here’s a pro tip to make life even easier: most big-box home improvement stores will cut your large wood sheets for you. Just walk in with your measurements for your main plywood or MDF pieces, and they'll handle the big, precise cuts. This is a game-changer—it saves you a ton of effort and ensures your foundational parts are perfectly square from the get-go.
What Is the Best Material to Use?
This is probably the biggest question, because your choice of material affects everything from your budget to the final look and how long it'll last.
- Plywood: This is my go-to recommendation for a reason. It’s incredibly strong, grabs onto screws like nobody’s business, and resists sagging. That makes it perfect for those long shelves and the vertical dividers that form the backbone of your system.
- Melamine: If the thought of painting makes you groan, melamine is your friend. It's basically particleboard wrapped in a tough, plastic-like coating, so it comes pre-finished and is a breeze to wipe clean.
- MDF (Medium-Density Fiberboard): For anyone dreaming of a perfectly smooth, painted finish, MDF is the stuff. It has no wood grain, so it paints up beautifully. Just be aware that it’s heavy and absolutely hates moisture, so it's best for closets that stay dry.
For most projects, especially if you're just starting out, you can't go wrong with 3/4-inch plywood. It’s the best all-around choice for strength and ease of use.
The most common mistake I see is people building shelves that are too wide without any middle support. A good rule of thumb: if your shelf spans more than 36 inches, you need to add a central support bracket or a vertical divider to keep it from bowing under the weight of your stuff.
How Can I Make My Shelves Stronger?
Nobody wants droopy shelves. Making sure your shelves can handle a full load of sweaters, shoes, and bins is key to a closet that lasts. Luckily, preventing sag is pretty simple.
First off, never use material thinner than 3/4-inch for your shelves. Anything less is just asking for trouble. For a little extra insurance, here’s a trick I swear by: attach a 1x2 board along the front edge of each shelf, like a little lip. This simple addition makes the shelf dramatically more rigid and practically bulletproof against sagging. It’s a small step that makes a massive difference in the long-term sturdiness of your closet.
Ready to put the finishing touches on your new closet with some seriously smart, space-saving solutions? The MORALVE collection of hangers is designed to multiply your storage capacity instantly. Check out our innovative hangers and complete your dream closet at https://moralve.com.
Leave a comment