Your DIY Closet Organizer Guide: From Chaos to Calm

Staring into a cluttered closet is a frustrating way to start the day. You know what you're looking for, but it's buried somewhere in the chaos. The good news is that a well-planned DIY closet organizer can finally bring order to that space. This guide is your roadmap to designing a custom closet organization system that works for your space, your wardrobe, and your life.
From Clutter to Calm With a Custom Closet Plan
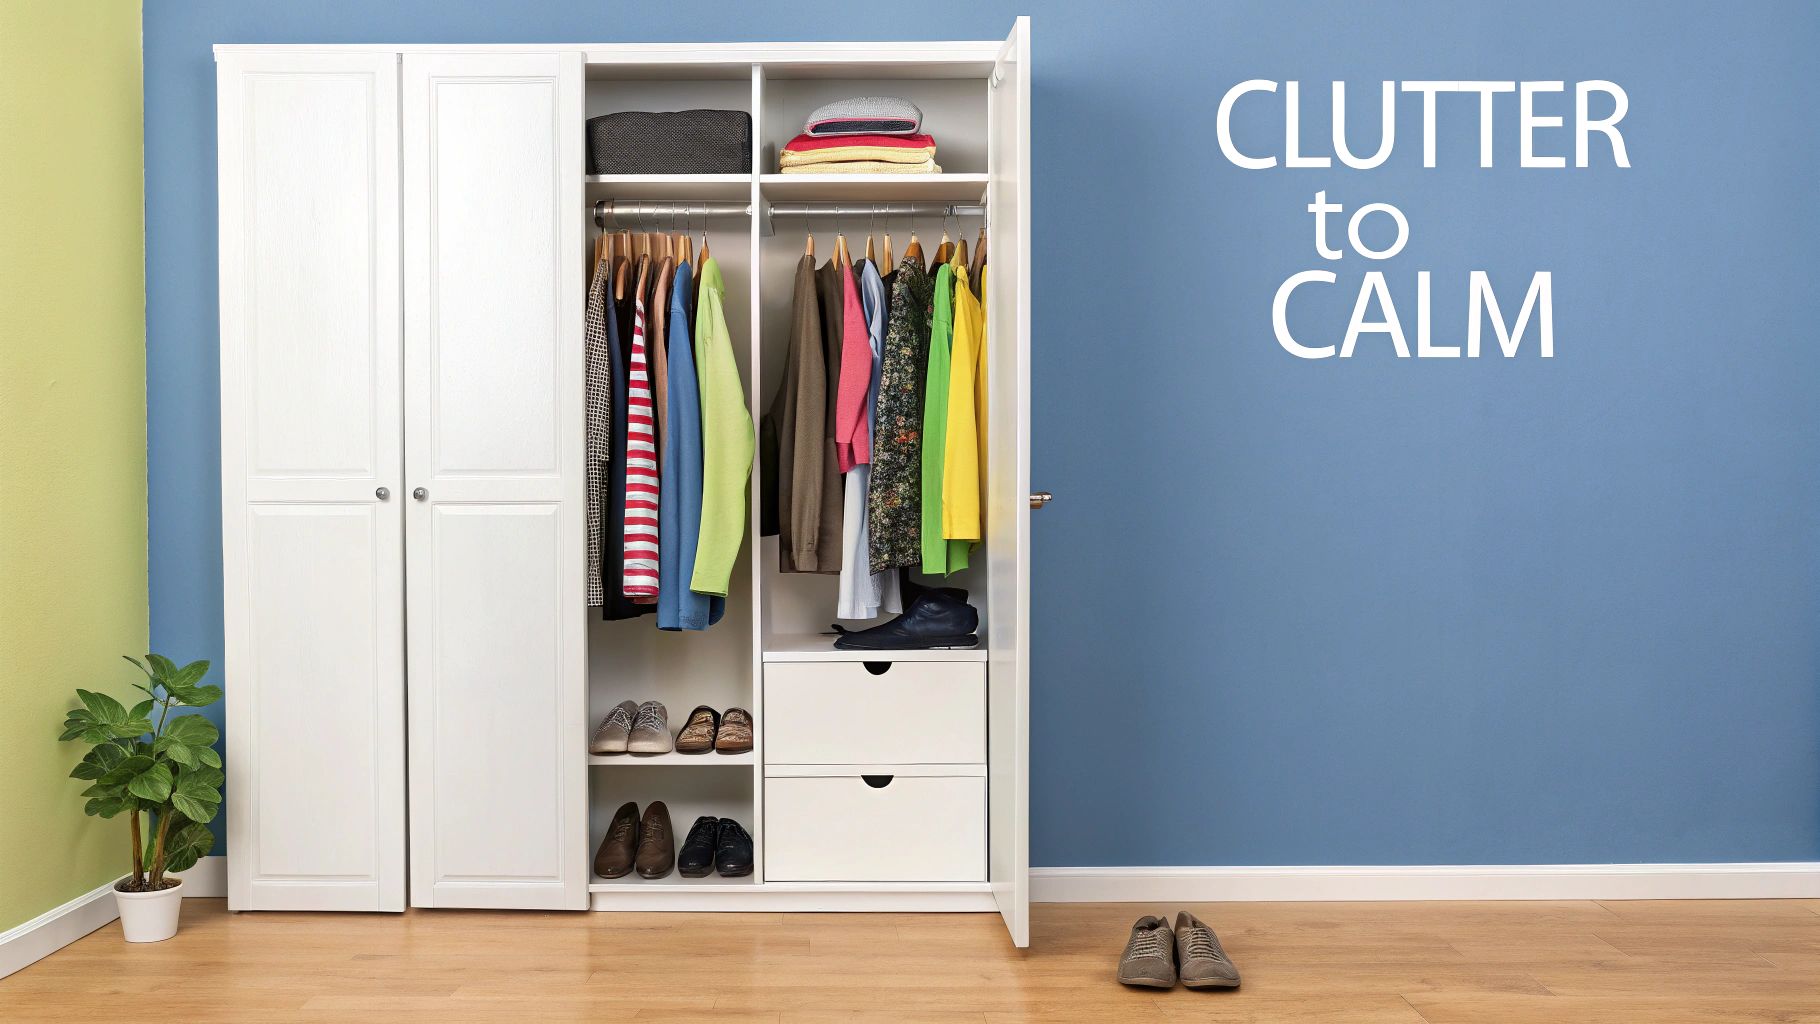
The desire for an organized home isn't just a trend; for many of us, it’s a lifestyle goal. This shift has driven growth in the home organization market. The global demand for custom closet systems is expected to hit around $28.14 billion by 2025, driven by decluttering movements and our pursuit of more efficient spaces. You can read more about the custom closet market growth if you're curious.
This guide will help you create that personalized closet system without the huge price tag of a professional install. We'll focus on the practical steps of closet organization that make a real difference.
What This Guide Will Cover
Instead of pushing a one-size-fits-all solution, we'll walk through a process that’s all about your wardrobe. The goal is to give you the confidence to tackle this rewarding home organization project.
Here’s what you’ll learn how to do:
- Audit your wardrobe: Before you can organize, you need a solid plan. I’ll show you how to take stock of what you own to figure out your real storage needs for hanging clothes, folded items, and accessories.
- Design a functional layout: Learn how to sketch a design that uses every inch of vertical and horizontal space. The key is making sure your most-used items are always easy to grab.
- Implement smart organization strategies: We'll look at techniques for zoning your clothes, using the right hangers, and managing seasonal items to maintain long-term order.
By the end of this guide, you won't just have a vague idea; you'll have a clear, actionable path to creating a DIY closet organizer that simplifies your daily routine and brings a lasting sense of order to your home.
Designing a Layout That Actually Works for You
A successful DIY closet organizer is 90% planning and only 10% building. Before you even think about buying shelves, you have to create a layout that fits your life and your stuff. A beautiful but impractical design will just become a new, more expensive home for your old clutter.
The first step? A full-blown wardrobe audit. Pull every last shirt, shoe, and scarf out of your closet. This is the only way to get an honest assessment of what you really need to store. You'll see exactly what you own and how much room each category really takes up.
Take Stock of Your Wardrobe
With everything out in the open, start sorting. Get granular. The more specific you are now, the better your final organization plan will be.
- Long-Hanging Items: Pull out all dresses, long coats, and jumpsuits. These pieces will determine the clearance needed for your tallest hanging section.
- Short-Hanging Items: This is usually the biggest group—shirts, blouses, jackets, and trousers hung over a hanger. Seeing the volume here will probably convince you that double-hanging rods are a must.
- Folded Clothing: Gather up the sweaters, jeans, and t-shirts you plan to keep on shelves or in cubbies. Stack them up to see just how much shelf space you're going to need.
- Shoes and Accessories: Don’t let shoes, bags, belts, and scarves be an afterthought. Planning specific spots for them is a total game-changer for closet organization.
This isn't just about cleaning up; it's about gathering intelligence. You're creating a functional blueprint based on the reality of your wardrobe, not some fantasy closet you saw online.
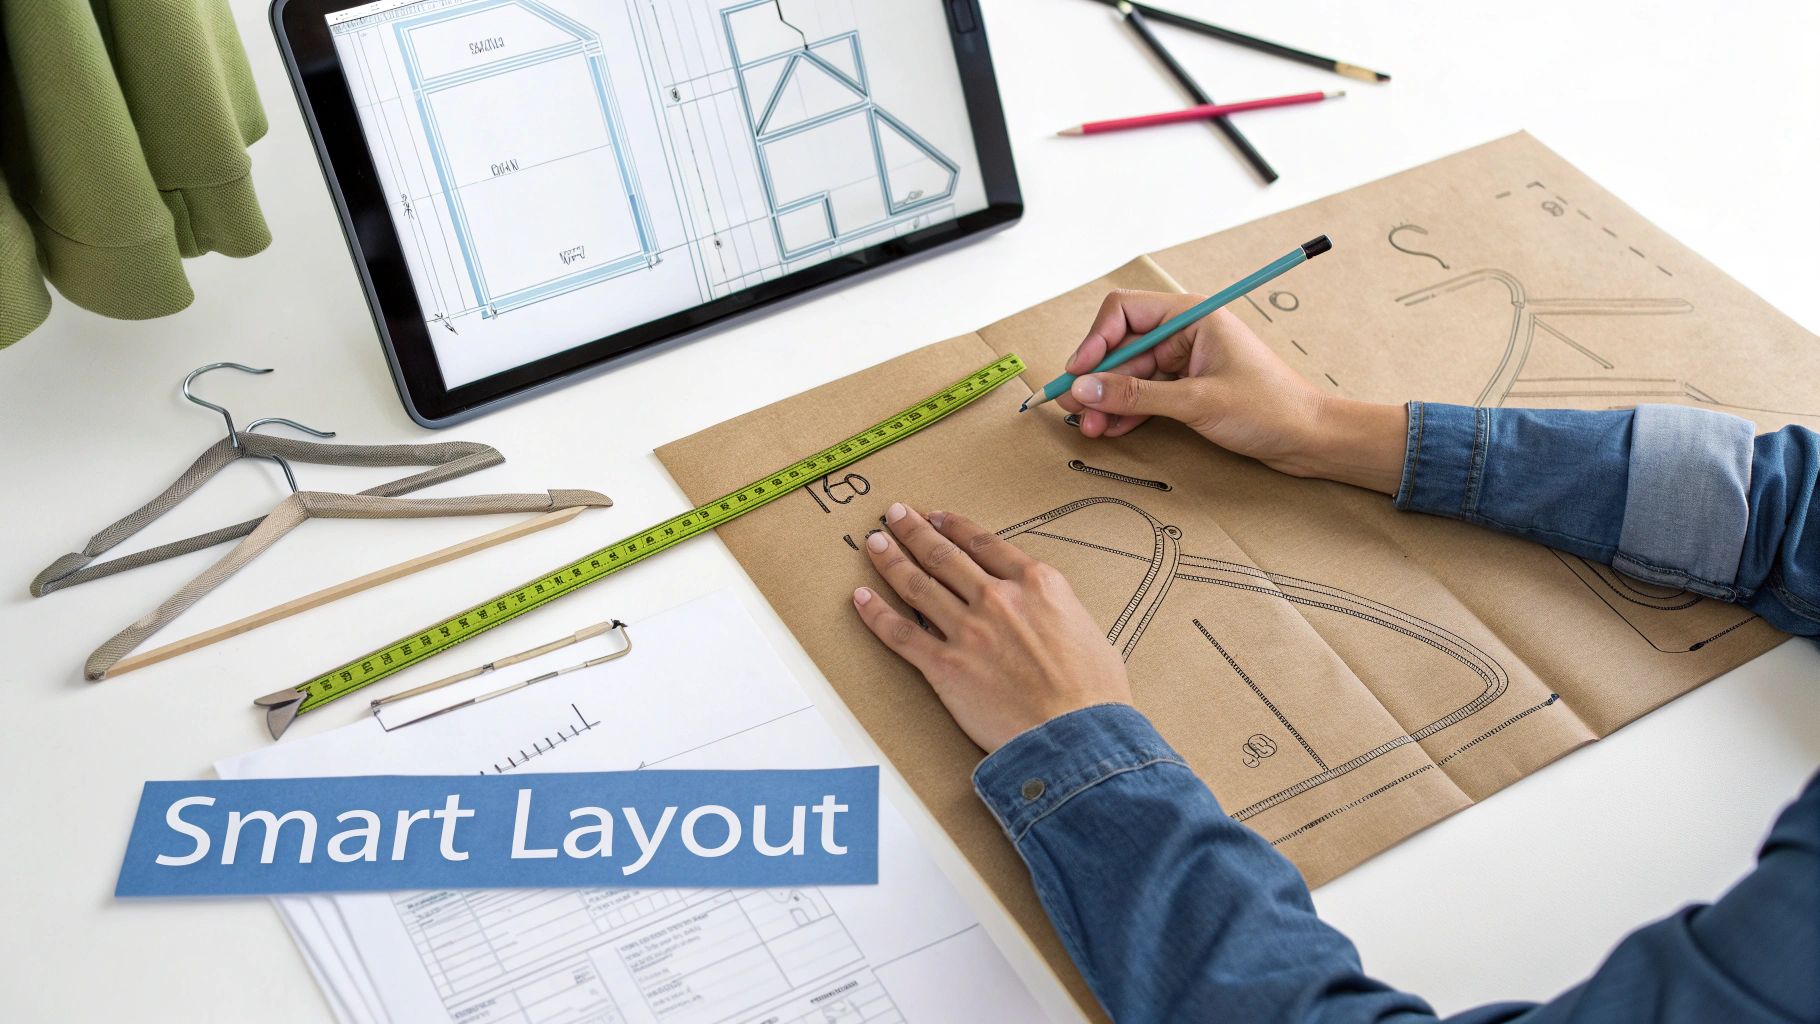
Turning Piles into a Practical Plan
Now that your stuff is sorted, it’s time to measure. Grab a tape measure and figure out the linear feet of hanging space each category needs. For your folded stacks, measure their height and width. These aren't just numbers; they are the exact dimensions you'll use to draft a plan that works from day one.
Get a pencil and paper and sketch out the inside of your closet. The key is to think vertically. Most closets are a wasteland of dead air above a single rod. Your mission is to claim that space.
The biggest mistake I see people make is designing a closet for their "aspirational self"—the one with a tiny, curated wardrobe. Be real. If you have 50 t-shirts, you need a plan for 50 t-shirts. Don't pretend you're a minimalist if you're not.
Start thinking in terms of zones. Your everyday work clothes? They should be front and center, right at eye level. Bulky winter coats or off-season dresses can go on a higher shelf that’s out of the way.
Finally, think about your tools from the beginning. If you plan to use space-saving hangers from MORALVE, you can fit far more into a hanging section than you think. By designing around smart accessories like these, you build a DIY closet organizer that not only gets organized but actually stays organized.
Choosing the Right Materials and Tools
Building a great DIY closet organizer starts with picking the right materials—ones that fit your vision, your budget, and your DIY comfort level. Walking into a hardware store can be overwhelming, but understanding the main options makes it much easier.
The material you choose is the biggest factor affecting the project's cost, durability, and final look. Each option has its own personality, so let's get to know them.
Comparing Your Core Material Options
Most DIY closet projects use one of three common materials. Melamine is a fantastic, budget-friendly option that comes pre-finished, which means you can skip painting. Plywood is a real workhorse known for its strength. And Medium-Density Fiberboard (MDF) is the go-to for a super-smooth painted finish.
A classic rookie mistake is picking a material just because it's cheap. Think about what you'll be storing. If you have a mountain of heavy sweaters, paying a bit more for sturdy plywood now will save you from the headache of sagging shelves later.
To help you decide, here’s a quick comparison of the most common choices for a DIY closet organizer.
DIY Closet Organizer Material Comparison
| Material | Average Cost (per sq ft) | Durability | Best For |
|---|---|---|---|
| Melamine | Low to Medium | Good | Budget-friendly projects that need a clean, finished look. It's also super easy to wipe down. |
| Plywood | Medium | Excellent | Long, heavy-duty shelves that must hold a lot of weight without bowing. Its layered build gives it real muscle. |
| MDF | Low | Fair | Anything you plan to paint. Its perfectly smooth surface creates a professional, seamless finish, but it’s best for shorter spans. |
At the end of the day, your choice comes down to a balance of looks, strength, and price. For most projects, a mix-and-match approach often works best.
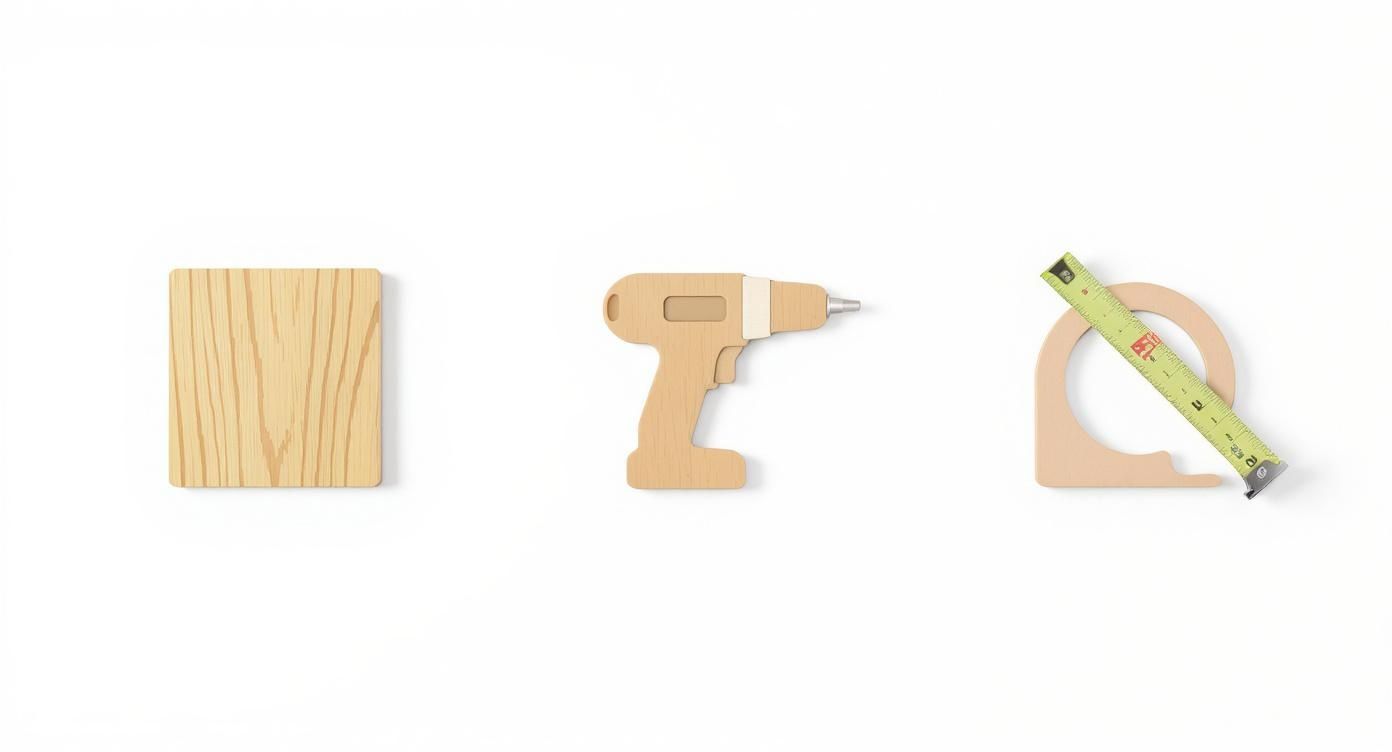
Gathering Your Essential Toolkit
Good news: you don't need a full workshop for this. But there are a few key tools that are non-negotiable for a safe and sturdy closet system. Having the right gear ready saves frustration and guarantees your shelves won't end up crooked.
Here's a list of absolute must-haves for this kind of project:
- A reliable stud finder: This is critical. You have to anchor your organizer into the wall studs. Drywall alone won't hold the weight.
- A quality level: Don't even think about eyeballing it. A good 24-inch or 48-inch level will be your best friend for getting everything perfectly straight.
- A power drill and bits: This is a huge time-saver for pre-drilling holes (to prevent splitting) and driving in screws.
- A tape measure: The old saying is a cliché for a reason: measure twice, cut once. Precision here is everything.
Once the main structure is built, the right accessories truly bring it to life. This is where you can get smart about maximizing every last inch. For instance, planning for specialized space-saving hangers right from the start can massively boost your closet's capacity. They let you hang multiple garments in the vertical space of one, a simple trick that makes a world of difference.
A Practical Guide to Building and Installing Your Organizer
Alright, your closet organization plan is finalized and the materials are ready. Now for the hands-on part: bringing your vision to life. It's best to think of this not as one giant task, but as a series of smaller, more manageable steps.
The process boils down to a few key phases. First, you'll cut your components. Then, you'll assemble the main units, like shelving towers or drawer boxes. Finally, you'll mount everything securely. Attention to detail here pays off big time, ensuring your system is safe and durable for years to come.
From Raw Materials to Assembled Units
Before making a cut, double-check all your measurements. Walls are almost never perfectly square, so confirming your numbers can save a massive headache later.
Set up a workspace where you can safely cut your plywood, MDF, or melamine boards. If you don't have a table saw, most home improvement stores will cut large sheets down to more manageable sizes for a small fee—this is a fantastic option for getting perfectly straight, clean edges.
Once your pieces are cut, it’s time to start assembling. A good strategy is to build the vertical towers first, as they’ll be the backbone of your new closet system.
- Lay the side panels and shelves on a flat surface.
- Use a combination of wood glue and screws to join them.
- Always pre-drill your screw holes, especially with MDF and melamine, to keep the material from splitting.
This visual guide breaks down the simple, foundational steps to get you started on the right foot.
As you can see, a successful closet organization project starts well before you pick up a drill. It’s all about having the right materials, the correct tools, and taking accurate measurements from the get-go.
Mounting Your Organizer for Stability
Securing your organizer to the wall is the most critical step for safety. Drywall alone isn't strong enough to support a fully loaded closet. You must anchor your components directly into the wall studs—the vertical wooden beams inside your walls. A reliable electronic stud finder is your best friend for this job.
Start by sliding your assembled towers into the closet. Use a level to make sure they're perfectly vertical. Once you've located the studs behind each unit, mark their positions and drive long screws straight into the studs. This creates a rock-solid installation that isn’t going anywhere.
Here’s a pro tip from my own experience: use shims. These are small, tapered pieces of wood you can slide into any gaps between your organizer and an uneven wall. This ensures the unit sits flush and doesn't wobble.
After the main towers are secure, you can move on to the closet rods. Measure and mark the height for each rod, checking that they’re level. Secure the rod brackets firmly into the wall studs or directly into the solid wood sides of your towers. To maximize vertical space, our guide on how to double your closet rod has some great tips.
Finally, it's time for the finishing touches: add your shelves, drawers, and any specialized accessories. With everything in place, you can step back and admire a sturdy, professional-quality DIY closet organizer that you built yourself.
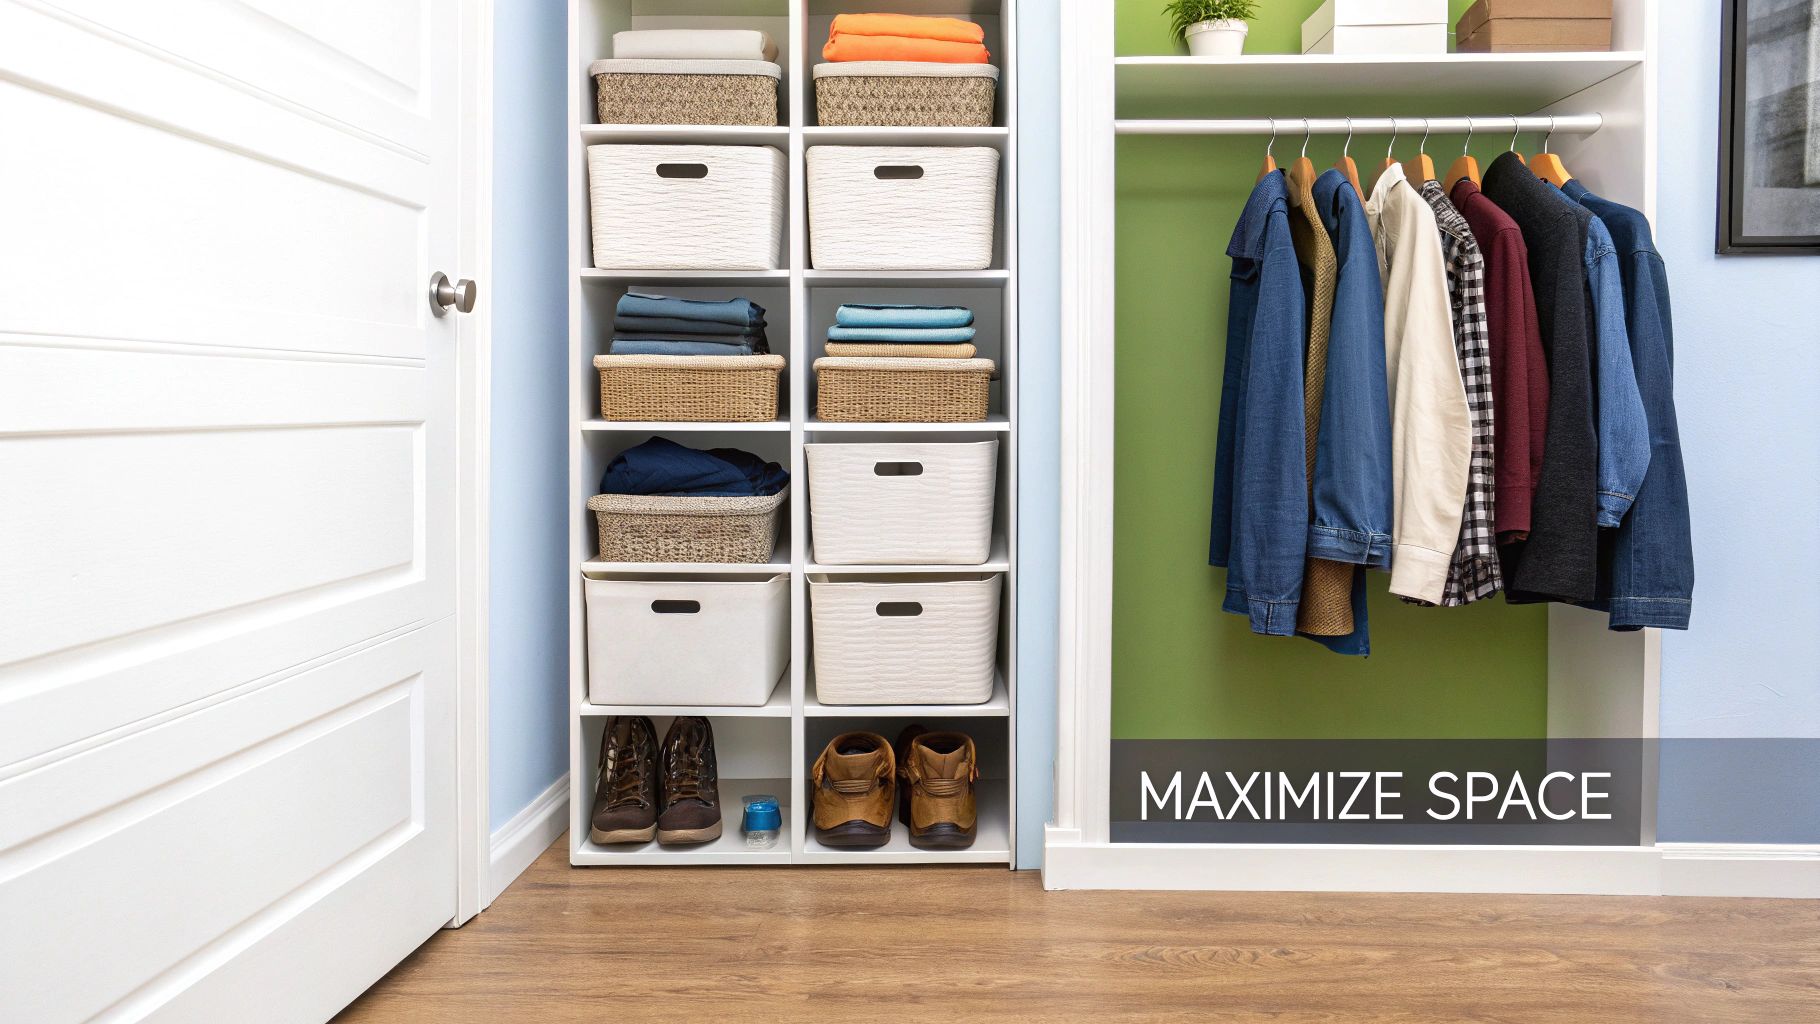
Smart Organization Strategies for Your New Closet
With your DIY closet organizer installed, the most important part begins—making it work for you. You’ve built the foundation, but how you use it is what will finally bring calm to your daily routine. This is where you shift from builder to curator, turning those new shelves and rods into a system that makes sense for your life.
The secret to long-term closet organization is giving every single item a dedicated home. It’s a simple mindset shift that makes all the difference.
Maximize Every Inch of Your New Space
Your new organizer has a mix of storage types, and the key is to use each one with purpose. When you assign items to the right spot, your mornings become effortless.
- Zone Your Clothing: Group like items together. Put all your t-shirts in one spot, all your pants in another. This is a game-changer when you’re no longer hunting for your favorite pair of jeans.
- Master Your Folding: For anything on a shelf or in a drawer, try vertical folding. This lets you see everything at once instead of digging through a messy stack and undoing your hard work.
- Contain the Small Stuff: Baskets and bins are your best friends for smaller accessories like socks, belts, and scarves. They keep loose items from cluttering up your new shelves.
The best closet systems are intuitive. Arrange your closet to mirror your daily life. If you're in an office five days a week, your work clothes should be front and center. That fancy dress or seasonal ski gear can live on the higher shelves.
The Power of Smart Hangers and Seasonal Rotation
Never underestimate the impact of good hangers. Switching to a set of slim, uniform hangers instantly creates a clean look and can boost your hanging space by up to 30%. For items like trousers or skirts, multi-garment hangers are a lifesaver. You can find tons of space-saving clothing storage solutions that can help you fit even more.
Finally, get into the habit of a seasonal rotation. Don't let bulky winter coats hog prime real estate in July. Store off-season clothes in bins on the top shelf or in an under-bed container. This frees up the most accessible space for the clothes you’re actually wearing right now.
There’s a reason closet organization has become a huge industry—valued globally at around $12.5 billion in 2023. People are desperate for smarter ways to store their belongings. You can read more about the growth of the closet organizer market to see how big this trend is.
Got Questions About Your DIY Closet Organizer?
Even the most seasoned DIYer has questions, and when it comes to a project like a custom closet, it's smart to tackle them head-on. Thinking through these common issues can save you a world of headache.
Let’s walk through some of the questions I hear all the time from folks planning their own closet organization projects.
What's the Best Bang-for-Your-Buck Material?
If your main goal is keeping costs down, Medium-Density Fiberboard (MDF) is usually the go-to. It’s affordable and gives you a perfectly smooth surface for painting, which means you can achieve that seamless, built-in look without a high-end price tag. Just be aware that MDF is heavy and can swell if it gets wet, so you'll need to seal it properly with a good primer and paint.
Looking for something that balances cost with convenience? I often recommend pre-finished melamine shelving. It's incredibly durable, a breeze to wipe clean, and the best part—it doesn't need painting. That alone can save you a full weekend of work.
I'm Renting. How Can I Organize My Closet Without Damaging the Walls?
When you're renting, the name of the game is "non-permanent." You want solutions that leave no trace behind. Instead of anchoring anything to the walls, think about building freestanding towers that rest securely on the floor. You can also get surprisingly sturdy, high-quality tension rods to add more hanging space—no screws required.
A few other great rental-friendly closet organization ideas include:
- Modular cube units: These are like building blocks for your closet. You can stack and configure them however you need.
- Freestanding drawer chests: Perfect for tucking away socks, t-shirts, and other folded items.
- Over-the-door hangers: Don't forget this valuable real estate! They're fantastic for storing shoes, belts, or scarves.
A quick pro-tip: Always give your lease agreement a once-over before you start. Even if something seems temporary, it’s better to know the rules. The goal is to maximize your space, not risk your security deposit.
Which Measurements Absolutely Cannot Be Wrong?
Every measurement is important for your DIY project, but a few are non-negotiable. First, you need to measure the width of the back wall in three places: top, middle, and bottom. Walls are rarely perfectly straight, and taking these three measurements will expose any issues so your shelves fit like a glove.
The next critical dimension is the depth from the back wall to the inside of your door frame. This measurement determines if your drawers will open all the way without hitting the door. It also ensures the closet door can shut completely once everything is installed. Don't skip this one!
Ready to pair your new custom closet with the smartest hangers on the market? Check out the full collection of innovative, space-saving solutions from MORALVE. See how you can truly maximize every last inch by visiting the MORALVE website.
Leave a comment