
Organizing closet on a budget: Top tips to declutter and save

Transforming a cluttered closet on a shoestring budget is entirely doable with just a few clever tweaks. By leaning on upcycled bins, slimline hangers, and smart layout adjustments, you can free up space without spending more than $50.
Below is a clear snapshot of what to tackle first, how much it will set you back, and why it matters.
Budget Closet Organization Overview
| Step | Estimated Cost | Key Benefits |
|---|---|---|
| Sort and Purge | $0 | Clears room for must-have pieces |
| Upcycled Bins | $10–$15 | Adds instant shelving with character |
| Slimline Hangers | $10–$20 | Increases hanging capacity by 30% |
These three moves kick off your closet refresh without busting your budget.
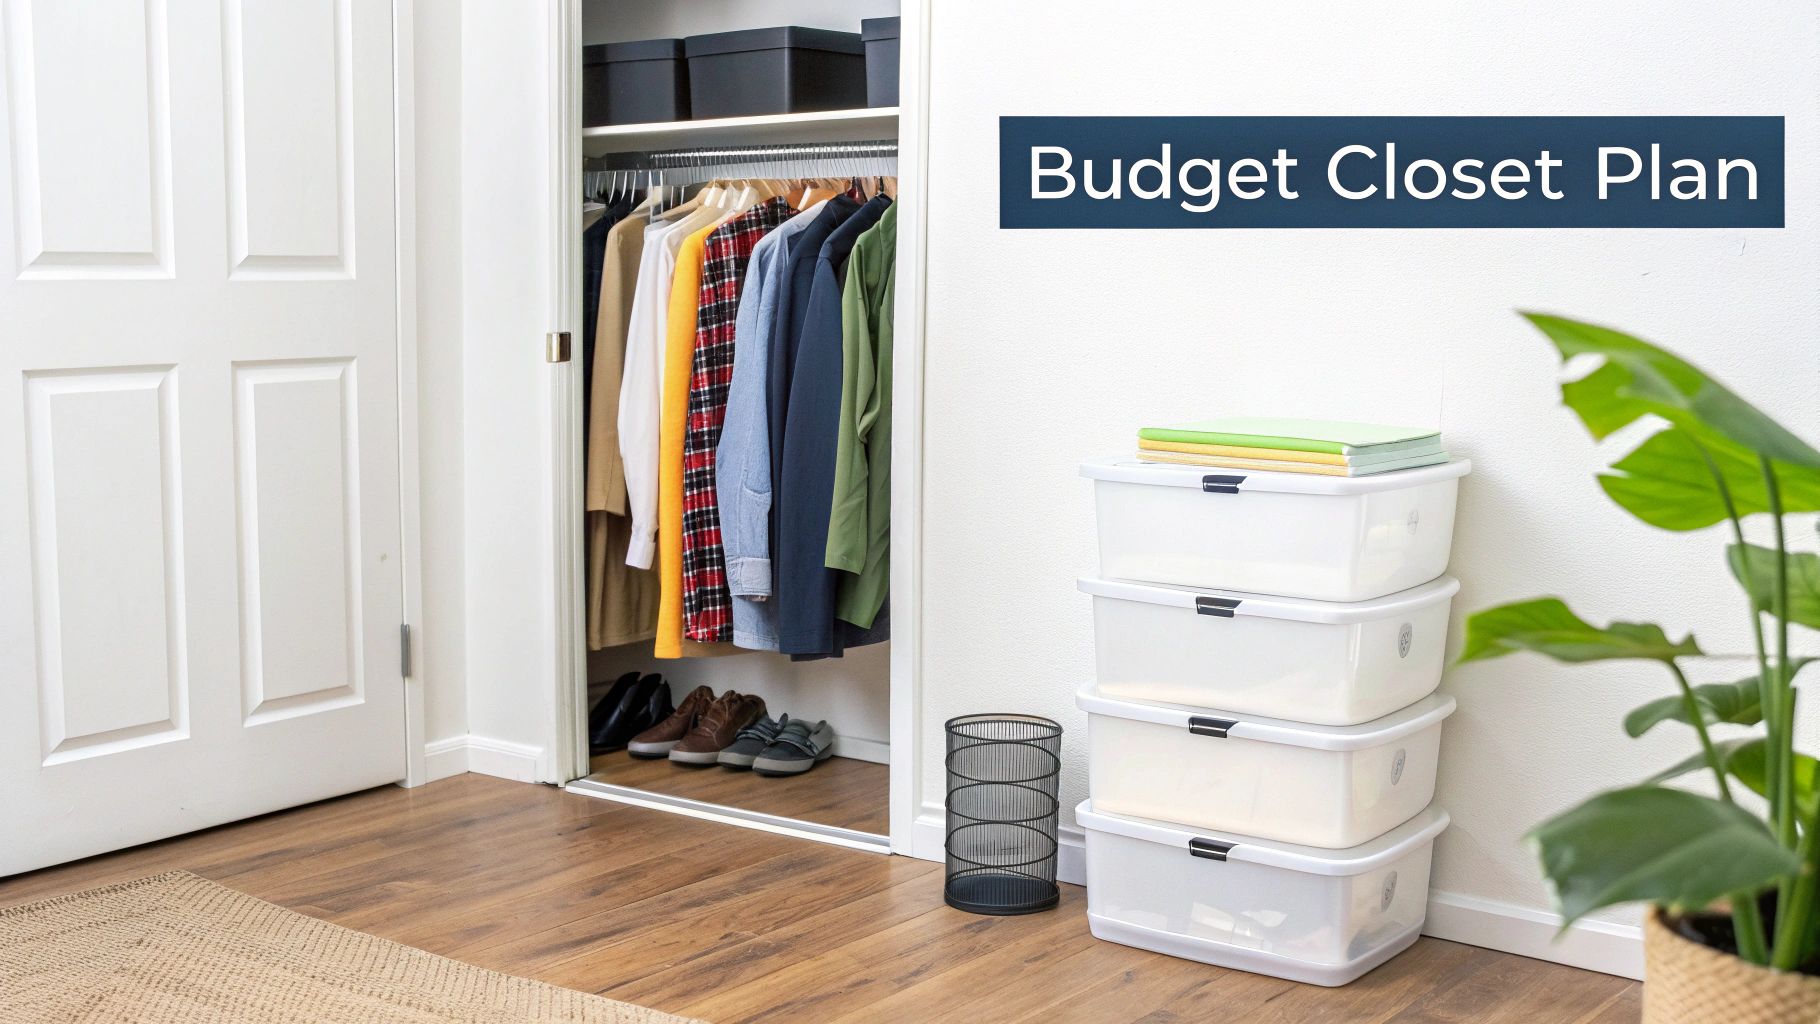
This diagram highlights how dividing your space into hanging, shelving, and floor zones can guide your priorities—whether you’re working with $0 or $50.
Prioritize high-impact zones first to see instant gains on a small budget.
Key Steps
-
Sort, Purge, Group by Use
Empty your entire closet, then decide: keep, toss, or donate. Seeing the bare walls motivates smart organization. -
Upcycle Bins and Tension Rods
Thrift shops and dollar stores are gold mines. Slide in bins for folded items or add rods for scarves, shoes, and accessories. -
Swap to Uniform Hangers
A set of slimline hangers instantly frees up room—and makes your collection look curated. -
Track Expenses and Iterate
Record every purchase, then tweak the layout next month. A closet that grows with you stays organized.
Gathering Materials And Setting Your Budget
Before spending a cent, audit your closet’s dimensions—width, shelf heights, rod spacing, and any odd corners. That quick sketch reveals wasted vertical and horizontal space, giving you a real-world foundation for your budget.
Choose a spending cap—$50, $100, or $200—to keep impulse buys in check and guide each purchase toward maximum impact.
- 40–50% on core closet organizers like slim hangers and stackable bins
- 20–30% on DIY supplies: reclaimed wood, screws, brackets
- 10–15% reserved for clearance deals or small hardware
Creating Detailed Materials List
Open a notes app or spreadsheet. Jot each item, cost, and quantity. Concrete examples help:
- 30-Pack Slimline Hangers: about $10
- Basic Shoe Rack: roughly $20
- Drawer Divider Set: around $8 each
- Over-Door Hooks: $5–$10 apiece
Check out our guide on space-saving hangers
Don’t overlook secondhand sources. Facebook Marketplace, thrift stores, and yard sales often yield quality organizers at bargain prices.
“I snagged wooden crates for $5 each and built a rustic shelving unit, saving over $20 compared to store models,” shares Sarah, a DIY enthusiast.
Comparing New and Used Finds
| Item | New Cost | Secondhand Cost |
|---|---|---|
| Wooden Crates | $25 | $5 |
| Wire Baskets | $15 | $7 |
| Over-Door Hooks | $10 | $3 |
Swapping new for used can cut your costs by up to 80% without sacrificing quality.
Tracking Costs And Space Gains
- Sketch your closet layout with precise measurements.
- Note dimensions of each organizer in your tracker.
- Compare dollars spent versus cubic inches reclaimed.
This simple tracking helps you see which purchases deliver the best space returns.
There’s even a trend toward modular DIY systems—many kits run under $300 and offer flexible closet layouts. Learn more about closet organizer market trends
Including Multipurpose Tools
Think beyond single-use gadgets. Tension rods, fold-down hooks, and wall-mounted rails serve double duty at minimal cost.
- Tension rods create extra hanging space for scarves or handbags
- Fold-down hooks turn flat panels into pop-up shelves
- Leftover screws and reclaimed wood often total under $10 for custom mini-shelves
Finish each week with a five-minute reset: return loose items, straighten hangers, and wipe down bins. That small habit keeps your closet guest-ready.
Decluttering And Sorting Items
Tackling your wardrobe feels less daunting when you zero in on one category—jeans one day, jackets the next. This focused approach keeps you energized and blocks that “where do I even start?” panic.
Lay everything out so nothing hides at the back. Then ask yourself:
- When did I last wear this?
- Does it still match my current style?
If the answer is “never” or “no,” slide it into a donate pile or seasonal bin.
Mark’s Trick
When Mark faced his mountain of T-shirts, he created a temporary “maybe” pile and waited one week. Anything untouched went straight to charity, and he instantly reclaimed 15 sq ft.
- Divide pieces into daily, occasion, and activewear
- Label bins or repurpose old boxes for quick sorting
- Reserve a small memory box—limit it to a few sentimental items
Decide where each pile belongs. Local thrift shops will take most items free of charge, while consignment apps can fetch a little cash. For temporary storage, clear plastic bins with lids run about $7 and stack neatly.
Quick Repairs
Before you toss that borderline favorite, consider a tiny DIY fix. A simple hem or new buttons can rescue a top in under 10 minutes, costing less than $3 in supplies.
Extra Filters Before You Keep:
- Is the fabric still in great shape?
- Can I pair it with at least three other pieces?
- Will I wear it in the next three months?
These questions trim the fat and leave you with only what truly belongs.
Group Items By Function
Once you’ve pared down, grouping by purpose makes mornings a breeze. Casual tees and denim sit on lower shelves, while blazers and work shirts hang at eye level.
Thrifted crates or budget baskets under $5 each add structure without blowing the budget. Plus, you can relabel them as your style evolves.
“A pared-down wardrobe felt instantly more breathable and set the tone for smart layout decisions,” says Erin, a small-apartment dweller.
To keep things in check, adopt the one-in, one-out rule. Each time you bring home a new piece, let a similar one go. And don’t forget a monthly reminder to send off the full donation box.
Learn more about refining your wardrobe in our guide on decluttering clothes here.
Design And Layout Strategies For Small Spaces
Grab a pencil and map out your closet walls before you buy any hardware. Measure from floor to ceiling, note rod heights, and detail shelf depths. A simple sketch reveals tricky spots and prevents impulse buys that won’t fit.
From there, carve out distinct zones for hanging shirts, folded jeans, and floor bins. These dedicated areas show exactly where to place slimline hangers and storage crates.
When Anna tackled her 4×6 closet, she reclaimed the back of the door for scarves and belts. An over-the-door shoe organizer freed up shelf real estate, boosting hanging capacity by 40% without a single drill.
Vertical Space Tricks
Maximizing vertical layers makes small closets shine:
- Slimline Hangers let you fit more garments on each rod.
- Stagger shelf heights so bulky sweaters don’t hog space meant for tees.
- Tension Rods create pockets for handbags or shoes—no drilling required.
- Stackable Crates, thrifted and fresh-painted, cost just $5 each.
Small changes unlock big storage wins in tight spaces.
Keep your sketch handy when shopping. Comparing product specs online against your dimensions stops wasted trips and awkward returns.
Examples Of Layout Improvements
| Feature | Before | After |
|---|---|---|
| Closet Capacity | Single rod | Dual rods with slim hangers |
| Shelf Efficiency | Uniform shelves | Variable heights for folded vs. light items |
| Door Storage | Unused | Over-the-door shoe rack for accessories |
| Floor Usage | Random boxes | Stackable crates with pull-out ease |
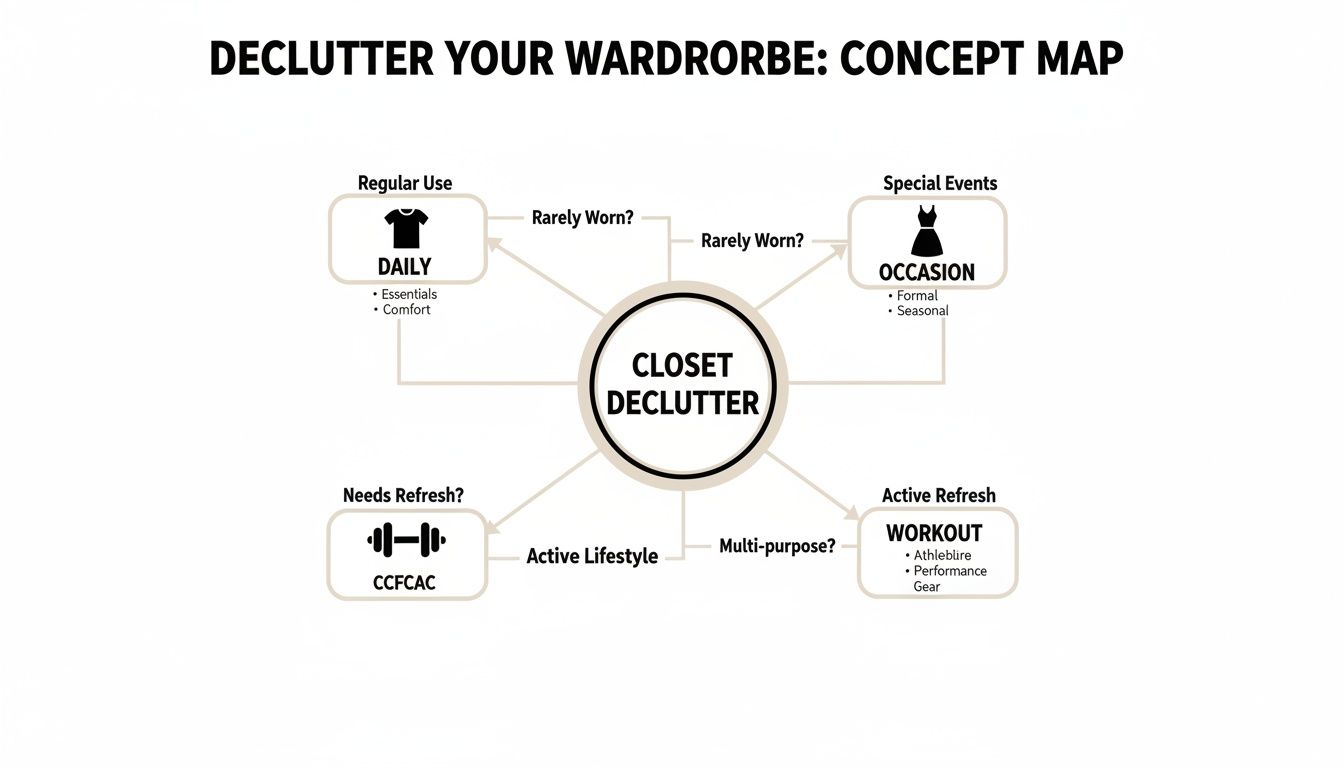
This radial diagram breaks down daily wear, occasion pieces, and active gear. Tracking these proportions helps you decide where to cut back. In Anna’s case, workout items took up 20% of her closet—she shifted them into a tighter bin.
Sorting And Adaptation
A closet overhaul isn’t a one-and-done deal. Keep a running list of wins and areas needing wiggle room.
Seasonal gear—like bulky coats—lives in labeled bins under $10. Then revisit your zones every few months and tweak rod heights or shelf spacing.
“Regular reviews are the secret to a tidy closet,” says Sarah, who saved $50 on her remodel.
For quick boosts, try:
- Modular Hooks (around $5) to corral hats, bags, or keys
- Mirror-Backed Bins to reflect light and add depth
- Light-Colored Storage to keep the space feeling airy
With these low-cost shifts, even the tiniest closet feels custom.
DIY Solutions And Affordable Accessories
Organizing a closet on a shoestring budget doesn’t mean you must sacrifice style. With simple tools and everyday materials, you can build customized, space-saving solutions.
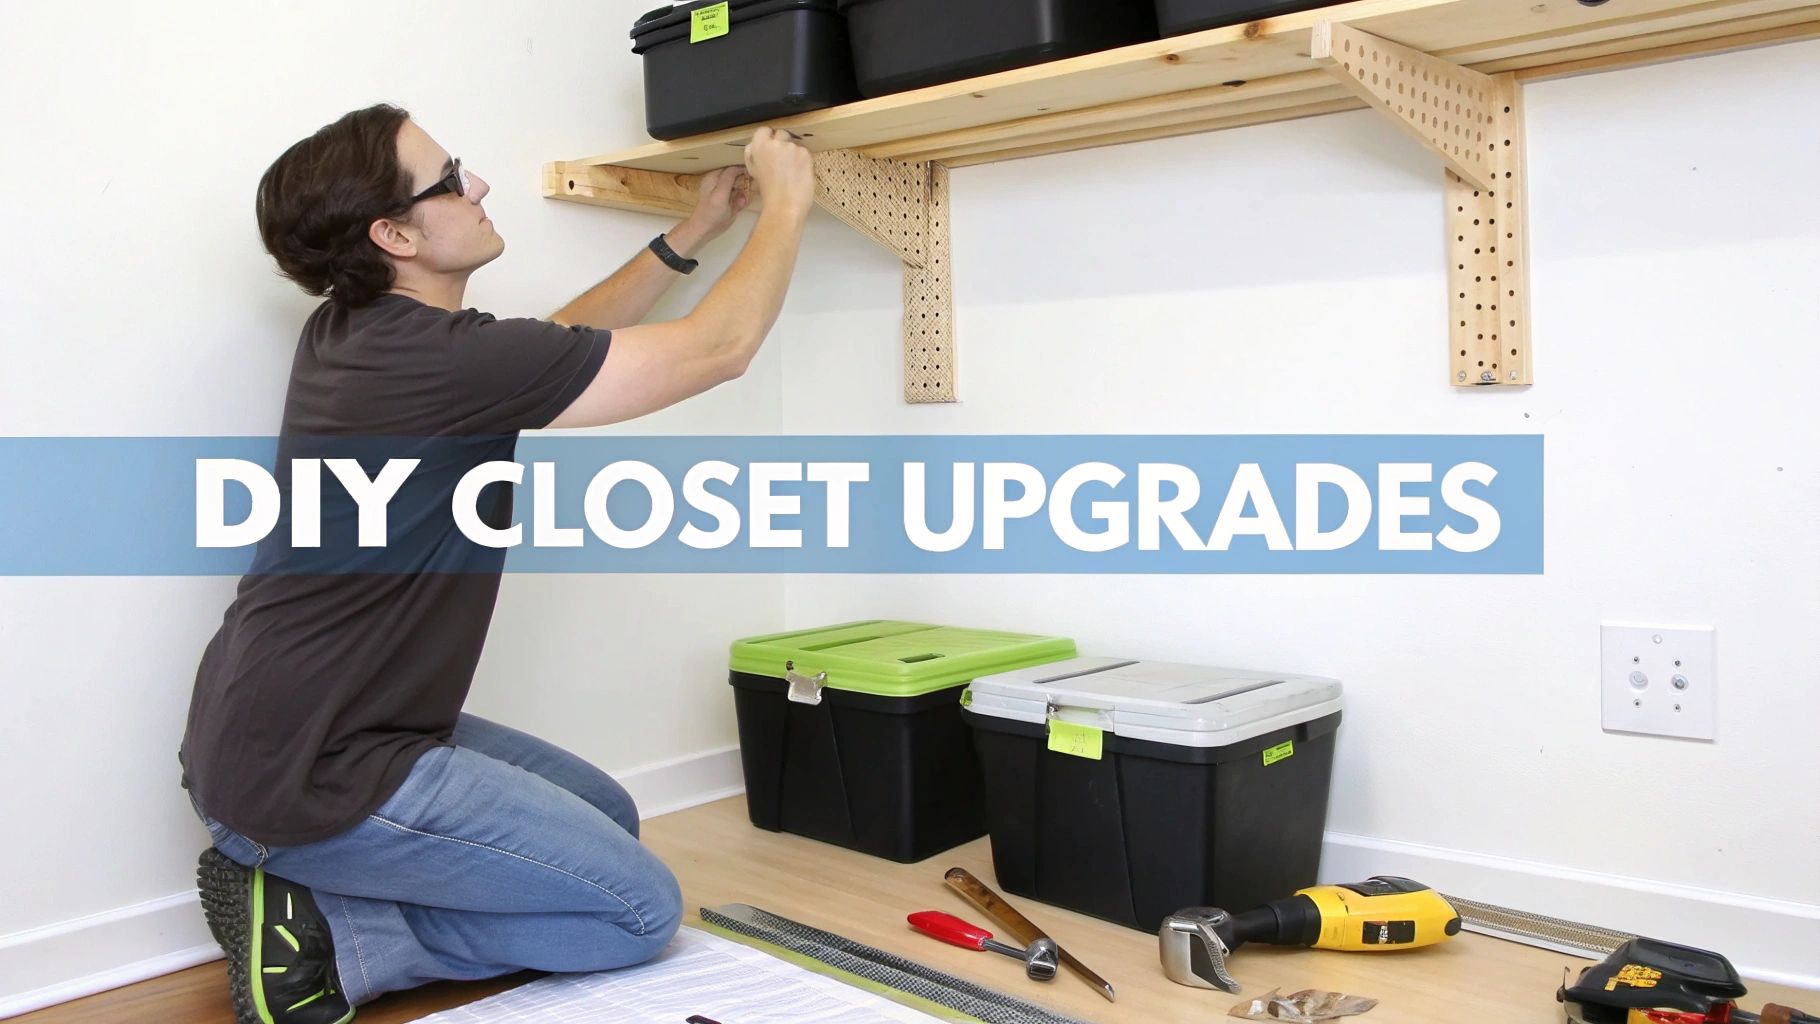
Imagine custom shelves that fit awkward corners perfectly. By cutting boards to size, smoothing edges, and fastening them with L-brackets, you’ll end up with sturdy platforms that hold 25 lbs or more. A quick coat of paint or stain blends them into your décor for roughly $5 extra.
Hanging rods stretch possibilities even further. Lisa tucked three tension rods at staggered heights inside an alcove, turning wasted space into a display of purses, scarves, and bands. Her total spend? Just $8, and she gained a dozen new accessory spots.
- Foam core and a sharp utility knife turn leftover boards into custom drawer dividers in minutes.
- Net baskets clipped to rods create removable storage for hats and gloves.
- Chalkboard tag labels make identifying bins a breeze and add a personal touch.
- Painted thrift-shop crates slide into floor gaps and stack safely with added supports.
Creating Custom Drawers
Dividing a deep drawer into tidy sections is quick. Cut panels from cardboard or foam core to fit snugly, then secure edges with a hot-glue gun.
These simple dividers keep socks, ties, and jewelry from jumbled-mess syndrome. A final touch of chalkboard paint or sticker labels means you can see exactly where everything belongs.
“Measuring twice and cutting once ensures a snug fit and professional look,” says DIY blogger Evan.
Shopping Smart For Accessories
Once the heavy lifting is done, focus on hangers and bins. Microfiber hangers sold in packs of 20–30 can shrink rod clutter by up to 40%.
Stackable plastic bins under $10 each display folded items neatly. And MORALVE space-saving hangers start around $12 for 15 pieces—ideal for maximizing every inch of rod.
You might be interested in our detailed DIY closet organizer guide on MORALVE's blog for even more budget hacks.
Market Trends And Cost Ranges
Entry-level modular kits range from $50 to $300, while basic organizers can slip into your cart for just single-digit dollars. This variety means quality components are easier—and cheaper—to find than ever.
Learn more about closet organizer market findings on Future Market Insights
- Modular kit cost: $50–$300 per setup
- Stackable bin price: $5–$10 each
- Hanger set ranges: $10–$20 for 30 pieces
Case Study Maria’s Shoe Station
Maria needed her shoes off the floor but still in sight. She mounted five $8 crates on a custom sliding base, creating a pull-out shoe station that holds ten pairs.
A set of small casters at $2 each added just $10 in hardware and made sliding effortless. Matching crate paint ties the whole look together.
| Project | Materials Cost | Outcome Benefit |
|---|---|---|
| Wooden shelves | $15 | +2 linear feet storage |
| DIY drawer dividers | $2 | Toys and ties separated |
| Maria’s shoe station | $40 | 10 pairs visible |
Key takeaway: DIY tweaks and affordable accessories can boost storage by 20–40% without a contractor.
Easy Maintenance
The best systems wear well with a quick weekly check. Spend five minutes re-hanging items and returning bins to their homes.
Every quarter, swap seasonal pieces and wipe down surfaces. This habit uncovers loose screws or wear before they become headaches.
Jot a few notes on what worked and what didn’t—your future self will thank you. Label shelf edges with washable markers or printed strips for instant clarity.
Maintaining Your Organized Closet
Habitual tweaks keep chaos at bay. A quick weekly check-in cements organized living into your routine.
Each morning I spend just five minutes refreshing the space. Worn items go straight back to their hook or bin, no excuses.
Seasonal swaps uncover stashed clutter. And thanks to clear container labels, I never end up hunting for that missing winter scarf when December rolls around.
- Five-Minute Reset – Anything left out gets folded or hung, and empty hangers head back to the rack.
- Season Swap Plan – Transition off-season clothes into labeled bins, noting any forgotten pieces.
- Photo Tracking – A quick snap of the closet each month highlights wardrobe gaps or overplayed favorites.
- Quarterly Deep Dive – I tally my hangers (yes, including those MORALVE slimlines) and decide what stays, what gets donated.
Small routines matter. Investing those extra minutes daily saves hours on weekend overhauls.
Berlin, a friend of mine, swears by this mantra. She can’t stand sagging hangers or overflowing bins. Catching these issues early means no giant clean-up marathons.
Seasonal Audit Tips
Rotating clothes as seasons change prevents that “where did everything go?” moment. This simple switch keeps your favorite pieces front of mind.
- Use clear labels or color-coded bins for a smooth switch.
- I once found over fifty hidden items trapped in mismatched crates—now I’m a labeling convert.
- Quick photographs keep me honest and show which pieces aren’t earning their keep.
“A little seasonal refresh is the backbone of a tidy closet.”
Logging your wear counts reveals real usage. I noticed six jackets sat unworn last month, so off they went.
| Task | Frequency | Benefit |
|---|---|---|
| Quick Reset | Daily | Keeps hangers neat |
| Seasonal Audit | Quarterly | Avoids surprise clutter |
| Photo Tracking | Monthly | Reveals wardrobe gaps |
Sustaining Budget Wins
Affordable tricks keep costs down over time. A bit of planning today stops big messes tomorrow.
- Refill essentials like chalkboard tags or swap out broken MORALVE hooks.
- Inspect hangers each month—slimline designs last longer and squeeze in extra space.
- Keep a small stash of versatile bins on hand to corral sudden buys or seasonal pieces.
Your closet will thank you with less stress and more style. Make these habits stick and enjoy clutter-free living.
FAQ
Got extra questions? Here are practical, budget-friendly fixes to common closet chaos.
What Are The Best Low-Cost Organizers For Small Closets?
Slimline hangers, stackable plastic bins, and tension rods are my go-to picks. They slip right into tight spaces and keep everything within reach.
- Slimline Hangers increase capacity by 40%
- Stackable Bins let you see folded items at a glance
- Tension Rods add instant shelves—no tools or drilling needed
How Can I Repurpose Household Items Safely?
Old cereal boxes make perfect drawer dividers, thrifted wooden crates transform into sturdy cubbies, and tension curtain rods double as extra shelving. Just seal any rough edges and give wood a quick coat of paint for a smooth, safe finish.
Is It Possible To Get A Polished Look Without Custom Installation?
Uniform hangers, matching bins, and DIY shelves painted in one shade can fool the eye into thinking you’ve spent a fortune. Sticking to a consistent color palette ties everything together and looks effortlessly professional.
Seasonal Review Advice
How Often Should I Reevaluate My Closet Layout?
I check mine every three months—right as the seasons change—to swap out off-season items and weed out what I no longer wear. This simple habit prevents clutter from piling up and keeps the whole system running smoothly.
Pro Tip Do a quick seasonal scan to catch small issues before they become big headaches.
Extra Tips
- Measure your rod width before grabbing new hangers to avoid awkward gaps
- Hunt thrift shops and online marketplaces for nearly-new organizers at a fraction of the cost
- Keep a mini repair kit (screwdriver, zip ties) handy for emergency fixes
- Store off-season pieces in clear, labeled bins on the top shelf to free up prime space
- Use bold, visible labels so you can spot scarves or belts in seconds
These little moves keep your closet both tidy and budget-friendly.
Explore MORALVE space-saving hangers Shop now to optimize your closet on any budget.
Leave a comment