Best do it yourself closet systems: Design, install, and organize with ease

The best DIY closet systems are the ones that solve your specific organization challenges. Think flexible, modular designs paired with quality materials, like the solid wood options from Allen + Roth or the endlessly configurable kits from Easy Track. These systems give you that custom, built-in look without the eye-watering price tag, putting closet organization entirely in your hands.
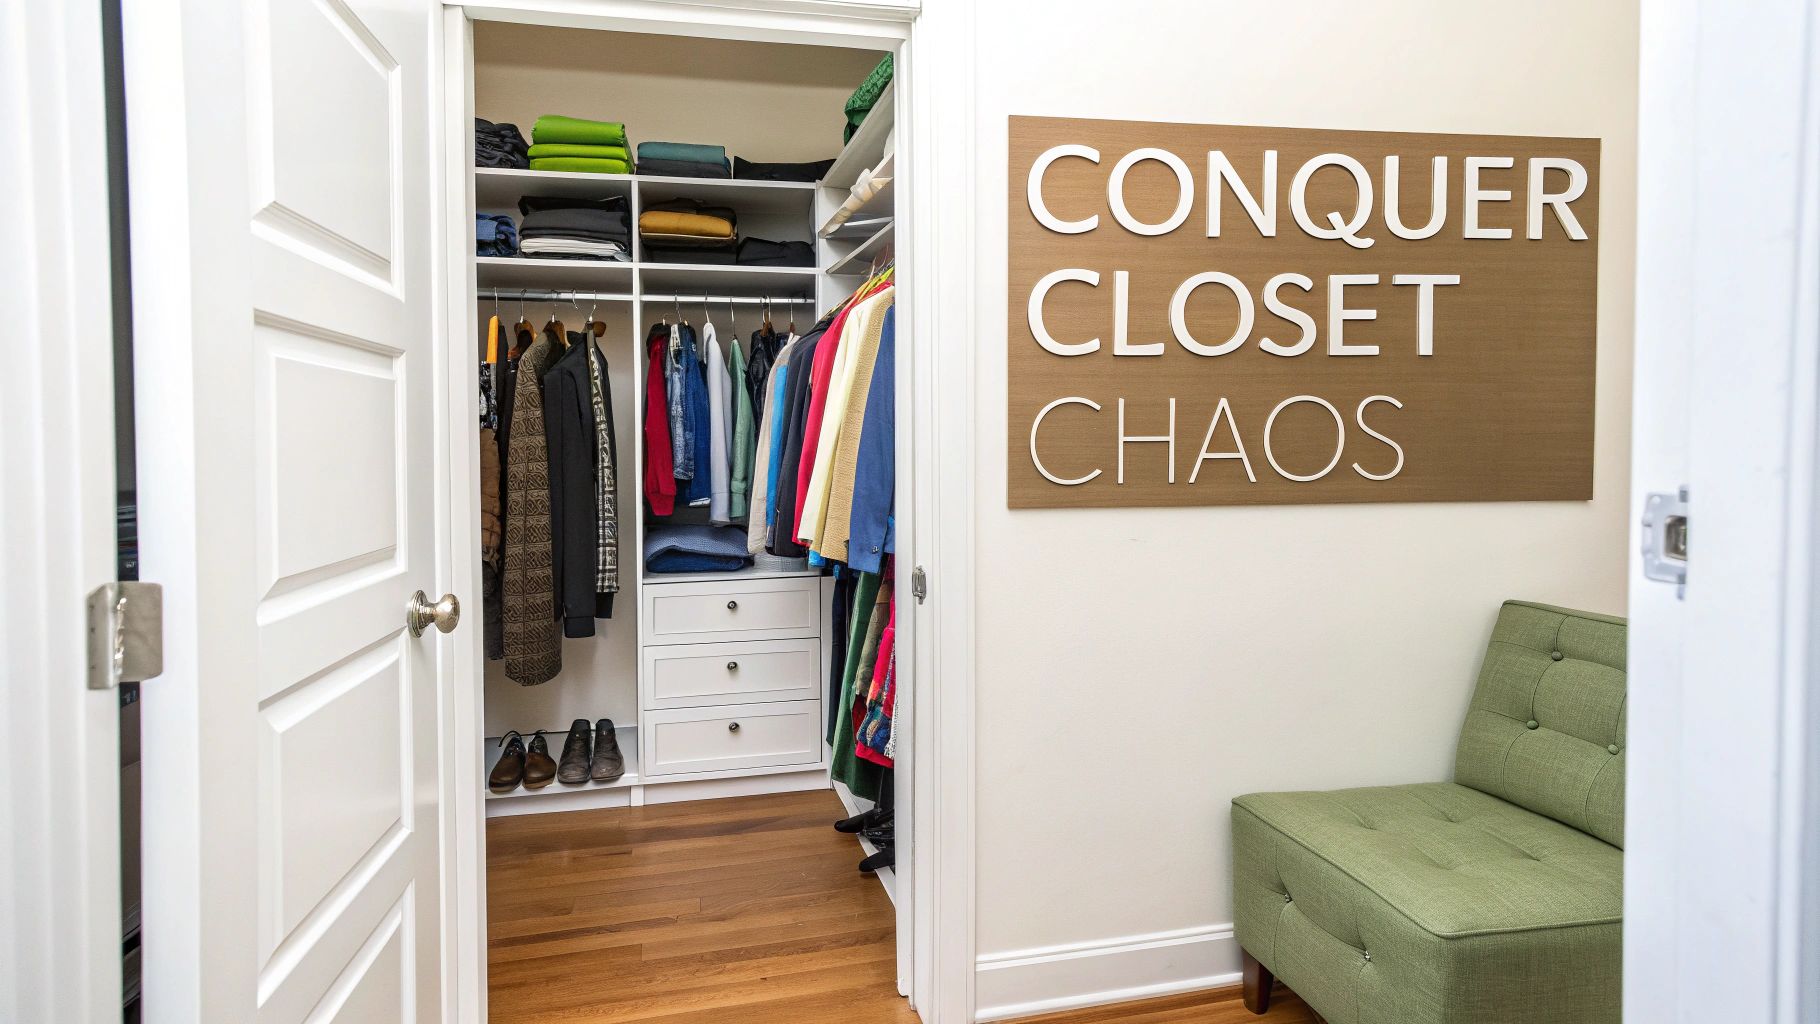
Conquer Closet Chaos with a DIY System
If you're staring into a closet that feels more like a disaster zone, you're not alone. This guide is your roadmap to transforming that chaotic space into a streamlined, organized haven. We’ll break down the world of DIY closet systems and show you how to get high-end organization on a DIY budget.
This is about so much more than just putting up a few shelves. It's about designing an organizational system that makes your daily routine simpler and even helps your clothes last longer. A well-organized closet cuts down on that morning stress and makes finding what you need completely effortless.
The Growing Demand for Organization
That deep desire for an orderly home isn't just a fleeting trend—it's a massive market. The global closet organizer market, which includes these popular systems, was valued at a whopping USD 12.5 billion in 2023 and is expected to climb to USD 19.8 billion by 2032.
What’s driving this? A huge part of it is the demand for smart storage, a trend that's been turbocharged by social media influencers showing off their perfectly organized spaces. This growth signals a real shift in how we think about our homes: people are actively looking for organizational solutions to reclaim and optimize their space.
Choosing the DIY route comes with some serious organizational perks:
- Big Savings: You can save anywhere from 40-60% by installing it yourself, dodging those hefty labor fees.
- Total Customization: You build the closet for your wardrobe, not some generic idea of one. You get to decide the exact mix of hanging space, shelves, and drawers needed for your items.
- Building Skills: Successfully tackling a closet system is a fantastic confidence booster for future home improvement projects.
A DIY closet project isn't just about storage; it's an investment in your daily peace of mind. By creating a designated spot for everything, you eliminate decision fatigue and start your day with clarity and control.
Getting Started on Your DIY Journey
The idea of building your own closet system can feel intimidating at first, but it’s far more achievable than you might think. Today's kits are designed specifically for the home renovator, with clear instructions and components that are easy to handle.
If you're new to the DIY scene, dipping your toes into some beginner-friendly woodworking projects is a great way to build the skills and confidence you'll need. Starting small helps you get comfortable with the basic tools and techniques.
Throughout this guide, we’ll share insider tips on smart organization and show you how simple tools can be your secret weapon for maximizing every last inch of your closet. Let's get you inspired and ready to start this rewarding journey.
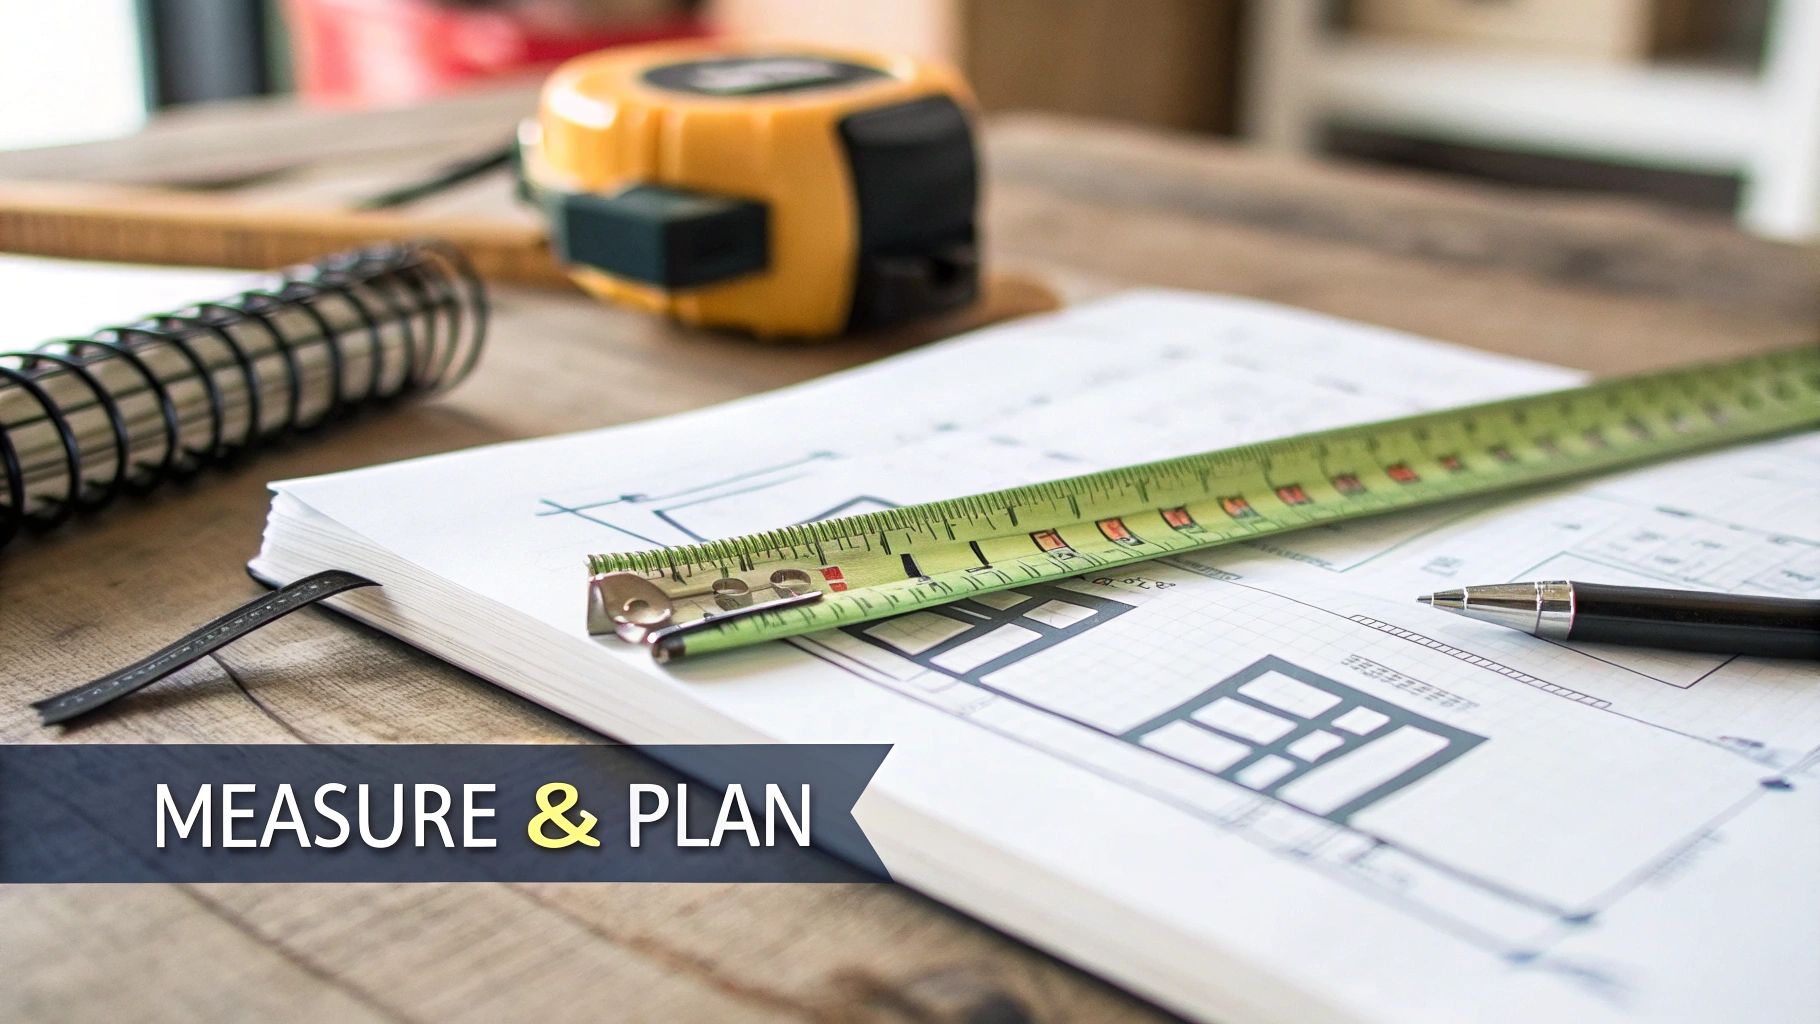
Planning Your Perfect Closet Layout
A truly organized closet begins long before you pick up a drill. It all starts with a smart plan that considers every last inch of your space and every single item in your wardrobe. Rushing this stage is the number one reason DIY closet projects don't solve the underlying chaos. Taking the time to plan properly is a crucial investment in your organizational success.
Think of this initial phase as organizational detective work. You're gathering clues about your space and your habits, and what you discover will become the blueprint for a closet that finally works for you.
Taking Accurate Measurements
Precision is everything here. Grab a good tape measure and write everything down, because even a half-inch can throw a wrench in your plans when you're installing pre-made components.
Start with the core dimensions:
- Width: Measure the back wall at the top, middle, and bottom. Walls are almost never perfectly square, so always use the smallest of the three measurements to be safe.
- Height: Check the height from floor to ceiling on both the left and right sides.
- Depth: Measure from the back wall out to the front edge of the opening, again on both sides.
But don't stop there. You need to map out any obstacles. Note the exact location and size of baseboards, light fixtures, outlets, and even the attic access panel if you have one. Critically, check the swing of your closet door—you need enough clearance for it to open fully without hitting your new system. Trust me, realizing a light switch is in the way after you’ve started building is a frustration you can easily avoid.
Conducting a Wardrobe Audit
With the space mapped out, it's time to figure out what you're actually going to organize. A wardrobe audit is a non-negotiable step for designing an effective closet. It’s really just a simple inventory of your clothes and accessories that shows you what kind of storage you actually need.
Pull everything out and start sorting. As you create piles, ask yourself some honest questions:
- How much do I need to hang? Separate long items (dresses, coats) from short-hanging ones (shirts, jackets).
- Do I prefer to fold bulky items like sweaters and jeans, or do I want them hanging?
- How many pairs of shoes do I really have? Think about what kind they are—heels, boots, and flats all have different storage needs.
- What about accessories? Where will my bags, belts, ties, and scarves go?
The answers will guide your design choices. For instance, if you own 50 blouses and only two long coats, dedicating most of your layout to double-hang rods is a much better use of space than one long rod. If you're a sweater fanatic, then ample shelving or deep drawers should be your priority. You can learn more about how to nail down the specifics with a great closet system design that fits your life.
By designing for the wardrobe you have, not the one you think you should have, you eliminate wasted space from day one. This audit is the single most effective way to ensure your new closet system solves your specific organizational challenges.
Sketching Out Your Layout
Now for the fun part. With your measurements and inventory list in hand, you can start putting your organizational vision on paper. You don't need fancy software; a piece of graph paper and a pencil will do the trick just fine.
Draw your closet's footprint to scale and start blocking out different zones based on your audit. A good rule of thumb is to place your most-used items in the prime real estate between your eyes and waist for easy access. Things you use less often, like seasonal gear, can be organized on the high shelves.
Think about your daily routine. Maybe you want a section with drawers for socks and underwear right next to the rod where you hang your pants. This kind of thoughtful placement creates organizational flow that can make getting ready in the morning much smoother. This is your chance to play with different combinations of shelving, drawers, and hanging space until you land on a layout that feels just right.
Choosing Your Closet System's Materials and Components
Alright, you've got your layout planned and your measurements in hand. Now comes the fun part: picking the materials that will form the backbone of your organized space. This is a critical decision because the material you choose sets the tone for the entire project, impacting the final look, its long-term durability, and of course, the budget.
Think of it as choosing the core personality of your closet organization system. Are you going for something sleek and modern, or more of a warm, classic, built-in furniture vibe?
The material really does define the organizational experience. A simple wire system is like a minimalist, functional backpack—it gets the job done efficiently. A solid wood system, on the other hand, is like a piece of high-end, structured luggage. Both serve a purpose, but they offer completely different aesthetics and user experiences.
Comparing Popular Material Options
For most DIY closet projects, you'll be looking at three main players: wire, wood laminate (also called composite), and solid wood. Each has its place, and understanding their pros and cons is key to making a choice you'll be happy with for years to come.
Wire Systems
- Best For: Incredible ventilation, projects on a tight budget, and hardworking utility spaces like laundry rooms or pantries.
- Pros: This is by far the most affordable route. The open design promotes great airflow, which is fantastic for keeping clothes fresh, and installation is generally pretty straightforward.
- Cons: The biggest drawback is that the wire rungs can leave indentations on soft items like sweaters. It also has a more utilitarian look, and the fixed design isn't great for storing smaller, loose items.
Wood Laminate or Composite Systems
- Best For: Achieving a clean, modern, and built-in look with a ton of options for customization.
- Pros: This is the sweet spot for many DIYers. Brands like ClosetMaid and Easy Track offer a massive variety of components, colors, and finishes. The solid surfaces are perfect for neatly stacking folded clothes and storing accessories without issue.
- Cons: These systems are heavier than wire and can be prone to chipping or peeling if you're not careful during installation.
Solid Wood Systems
- Best For: Creating a truly luxurious, furniture-like closet that adds significant value and a timeless feel to your home.
- Pros: You just can't beat the durability and strength of solid wood. Systems from brands like Allen + Roth offer a high-end aesthetic that comes very close to what you'd get with an expensive custom closet company.
- Cons: This is the priciest option by a good margin. It also demands more skill and care during installation because the material is heavy and less forgiving.
Ultimately, choosing your material comes down to your organizational priorities. If maximum customization with a polished, built-in feel is your goal, laminate systems offer incredible versatility. If you're chasing that high-end, furniture-grade finish where durability is king, solid wood is the undeniable winner.
Thinking Beyond the Shelves: Your Core Components
A truly great closet system is so much more than a few shelves and vertical panels. The real organizational magic happens when you select a smart mix of components that are tailored to your specific wardrobe and lifestyle.
For instance, don't just plan for "hanging space." Get specific. Differentiating between long-hang areas (for dresses and coats) and double-hang areas is a game-changer. A simple double-hang rod setup instantly doubles your storage capacity for shirts, jackets, and pants in the exact same footprint.
Here are a few essential components for better organization:
- Drawers: These are your secret weapon for hiding clutter and neatly organizing socks, underwear, and accessories. Deeper drawers are brilliant for bulky sweaters, while shallower ones are perfect for jewelry or belts.
- Adjustable Shelving: Life changes, and your closet should be able to change with you. Adjustable shelves give you the freedom to reconfigure heights to accommodate tall boots in the winter and switch to sandals in the summer.
- Specialty Organizers: This is where you can really dial in the details. Think about slide-out pant racks, dedicated tie and belt organizers, or velvet-lined jewelry trays. These add-ons give every single item a proper home, which makes getting ready so much smoother.
This thoughtful approach to selecting parts is what elevates a good DIY closet to a great one. It’s also a major reason the market is growing—people are seeking out smart, personalized solutions. Globally, the demand for eco-friendly DIY options has jumped by 40% as more shoppers look for sustainable materials. And in a post-pandemic world, 72% of consumers are opting for DIY installations to save up to 60% on costs, realizing that an organized closet can genuinely boost daily productivity. To see how these shifts are shaping what's available, you can learn more about these market trends and their impact.
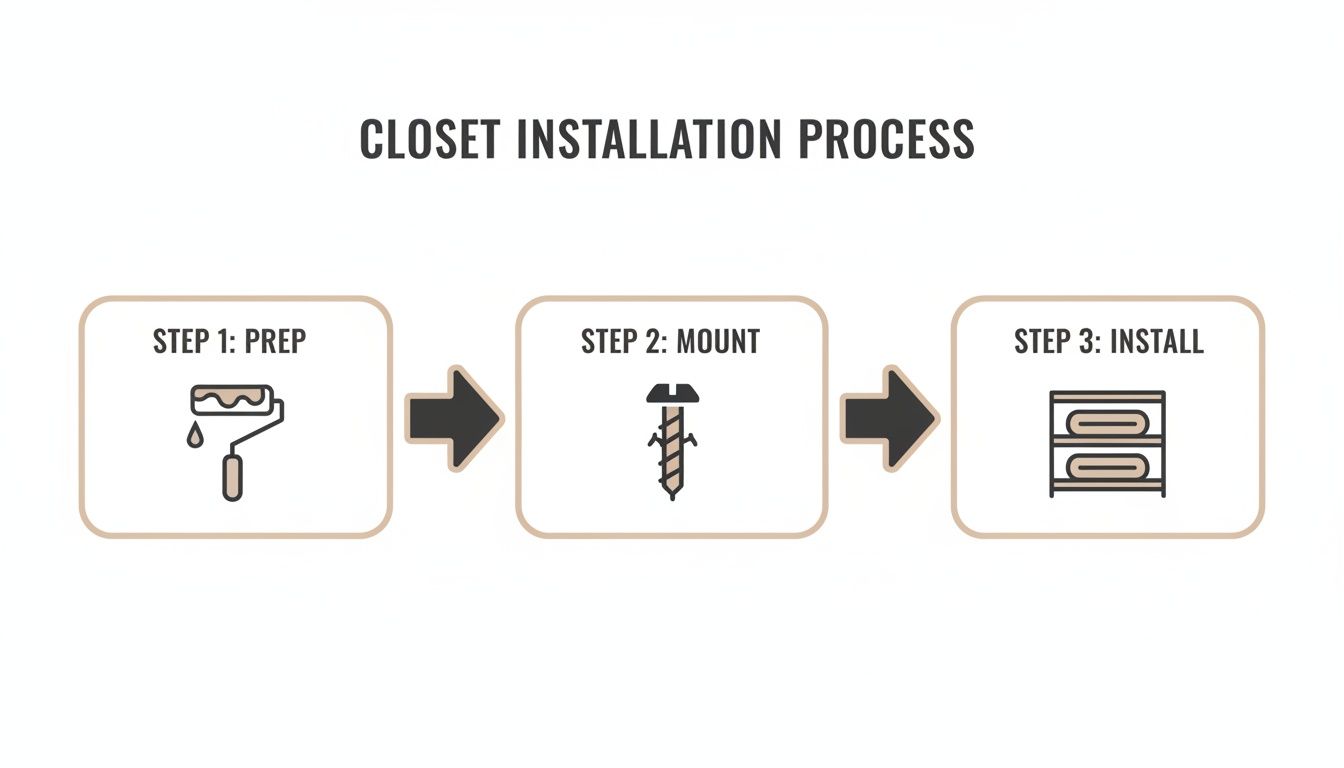
Bringing Your Vision to Life: The Installation Process
Alright, this is where the magic happens. All that careful planning is about to pay off as you transform your closet from a concept into a reality. With your layout finalized and your materials ready, it's time to roll up your sleeves.
The key to a successful installation isn't speed—it's precision. Take your time, double-check your measurements, and work methodically. A little patience now will give you a rock-solid, professional-looking closet that you'll be proud of for years to come.
A Fresh Start: Prepping Your Closet
Before you can build the new, you have to get rid of the old. You need a completely blank canvas to ensure your new system fits perfectly and looks its best.
First things first: empty the closet completely. Then, get to work removing every last piece of the old system—shelves, rods, brackets, and any stray nails or screws. You'll be surprised how much bigger the space feels once it's cleared out.
With the old hardware gone, it's time for a little TLC.
- Patch It Up: Grab some spackle and a putty knife to fill in all those old screw holes. Let it dry, then give it a light sanding until the surface is perfectly smooth.
- Wipe It Down: Give the walls a good cleaning with a damp cloth to get rid of any dust or grime. This is a must if you plan on painting.
- Fresh Paint is Worth It: This is the perfect time to apply a fresh coat of paint. It's so much easier to paint an empty closet, and a light, bright color can make a small space feel much larger and cleaner. Plus, it covers any scuffs left behind by the old setup.
Honestly, taking the time to properly prep the space is one of the most overlooked—and most important—steps. A clean, smooth, freshly painted closet isn't just about looks; it provides the perfect foundation and makes the actual installation a whole lot easier.
Anchoring Your System for Strength
Now for the most critical part of the job: mounting the main supports. Whether you're using a horizontal top track or vertical panels, they absolutely must be anchored securely. This isn't just about stability; it's about safety.
Your stud finder is your best friend here. The studs are the sturdy wooden beams inside your walls, and they're the only thing strong enough to hold the weight of a fully loaded closet. Never rely on drywall alone—it simply won't hold. Use your stud finder to locate and mark every stud along the walls where your system will be mounted.
Once you’ve marked the studs, grab your main support rail or the first vertical panel and hold it in place. Use a level to make sure it's perfectly straight. This is a step you can't afford to get wrong. Even a tiny angle can throw off your entire system, leading to crooked shelves and drawers that just don't fit right. Mark your screw holes directly over the stud locations, drill your pilot holes, and drive in the screws to lock it firmly in place.
Assembling the Core Components
With the main supports solidly in place, the fun part begins. It’s like putting together a life-sized puzzle, and your layout sketch is the picture on the box. Start by hanging your vertical panels or installing them according to the manufacturer’s instructions.
From there, you can start adding the shelves, closet rods, and drawers. Most modular systems are pretty intuitive, using a simple setup of cams, pins, and brackets. Just follow the instructions for each piece.
If you're building a system from the ground up, you can find a lot of great information in guides on how to build a DIY closet organizer, which get into the nitty-gritty of the construction process.
Dealing with Common Installation Headaches
No project is without its little surprises. Here’s how to handle a few common issues you might run into:
- Wavy Walls: If your walls aren't perfectly flat (and they rarely are), you might need to use shims—small plastic or wood wedges—behind your mounting brackets to make sure everything hangs level.
- Sloped Ceilings: Working in an attic or under a staircase? You’ll need to customize your vertical panels. Just measure the angle of the ceiling and use a saw to cut the tops of the panels to match before you install them.
- Pesky Baseboards: Most systems are designed to clear standard baseboards. But if yours are extra tall or thick, you may need to use a jigsaw to cut a small notch out of the back of your vertical panels so they can sit flush against the wall.
Keep your level handy throughout the entire process. It's much easier to make small adjustments as you go than to realize at the end that something is seriously out of whack. Once all the components are in, stand back and admire your work—the transformation is almost complete.
Making Your New Closet Work for You
Alright, the heavy lifting is done. Your new closet system is installed and secure. Now comes the best part—turning that sturdy framework into a highly organized space that makes your daily routine smoother and more enjoyable.
This isn't just about throwing your clothes back in. It's about giving everything a proper home, a logical spot that makes sense for how you live. A little thought here goes a long way in ending that frantic morning search for the right shirt and maintaining long-term organization.
Think of it less as construction and more as curation. You built the gallery; now it's time to arrange the art.
Strategic Placement for Everyday Ease
The golden rule of closet organization is simple: keep what you use most where you can grab it easily. The space between your eyes and your waist is your closet's prime real estate.
This is where your daily work attire, favorite sweaters, and go-to jeans should live. By reserving this easy-access zone for your everyday items, you save the top shelves and far corners for things you don't need as often, like special occasion outfits or last season's coats. It's a simple organizational change that makes a huge difference.
Unlock Vertical Space with Better Hangers
Want to instantly double your hanging space? Ditch the clunky plastic and wire hangers. This is one of the quickest, most impactful upgrades you can make, and it’s a secret weapon for maximizing any closet.
Specialized hangers are designed for organizational efficiency. For example, MORALVE's tank top and clothing hangers are game-changers, often tripling the amount of clothing you can fit on a single rod. This isn't just a niche trick; DIY closet projects have surged by 45%, and online sales of closet products are up 28% annually, driven by smart solutions like these. You can dig into the numbers yourself and see how the closet organizers market is growing.
My biggest piece of advice? Switching to a uniform set of space-saving hangers is the fastest way to make your closet feel bigger and look incredibly polished. The visual calm it creates is just as valuable as the extra rod space you gain.
Use Dividers and Bins to Tame the Chaos
Shelves are great, but even the neatest stack of sweaters is one wrong pull away from becoming a mess. This is where a few key accessories can bring perfect order to your shelves and drawers.
- Acrylic Shelf Dividers: These are brilliant. They slide right onto your shelves and create instant cubbies, keeping your folded clothes or handbags in perfectly neat, separate stacks. No more pile-toppling.
- Clear Storage Bins: Perfect for stashing out-of-season items like winter gloves or beach towels up high. They keep everything protected and dust-free, and because they're clear, you know exactly what’s inside without having to guess.
- Fabric Drawer Inserts: Drawers can quickly turn into a jumbled mess. Inserts give everything a home—socks, belts, scarves, you name it. No more digging around for a matching pair.
Layering in these simple organizational tools ensures every part of your new closet is pulling its weight. If you're looking for more ways to outfit your new setup, these shelving ideas for closets offer some fantastic inspiration.
Answering Your Top DIY Closet Questions
It’s totally normal to have a few questions lingering, even after you’ve mapped out your perfect closet. Let's tackle some of the most common things people wonder about when they're diving into a DIY closet organization project. Think of this as our final chat before you get started, making sure you have the confidence to see this through to the finish line.
So, What's This Actually Going to Cost?
The budget for a DIY closet can swing pretty widely, which is a good thing—it means there's a solution for almost every price point.
For a simple reach-in, a basic wire system from a big-box store might only cost you $100 to $200. It gets the job done without any fuss.
If you’re after a more polished look, a modular laminate system for that same closet will likely land somewhere between $300 and $800. For a more spacious walk-in, you could be looking at anywhere from $500 to over $2,000, especially once you start adding in nice-to-haves like drawers and other organizational accessories.
Here's the key takeaway: doing it yourself is where the real money is saved. You can realistically slash the total project cost by 40-60% by skipping the professional installation fees. That often makes a higher-end organizational system much more attainable.
Can I Do This If I’m Renting?
Yes, you absolutely can. Renters have some great options for upgrading their closet organization without risking their security deposit.
The easiest route is to go with freestanding modular units. These don't attach to the walls at all, so when you move, you can just take them with you. No marks, no mess.
If your heart is set on a wall-mounted system, just be ready to patch and paint over a few screw holes when you leave. It's smart to double-check your lease agreement for any specific rules on wall alterations. Pro tip: use high-quality, removable wall anchors to make move-out day a little less stressful.
What are the Big Mistakes I Should Avoid?
I've seen a few common trip-ups over the years. Knowing what they are ahead of time is the best way to avoid them.
- Bad Measurements: This is the single biggest mistake. It sounds obvious, but you'd be surprised. Measure everything at least twice—before you buy or cut a single piece.
- Skipping the Studs: Never, ever anchor a loaded closet system directly into drywall. It simply won't hold. You must find and secure your system to the wall studs. A cheap stud finder is one of the best investments you can make for this project.
- A "One-Size-Fits-All" Design: Don't build a closet for someone else's clothes. Take a quick inventory of what you actually own. Do you have tons of long dresses? More shoes than shirts? Design an organizational layout that fits your wardrobe, not a generic template.
How Can I Make a Basic System Look Expensive?
You don’t need a custom-built budget to get that high-end, bespoke feel. A few clever upgrades can make even an affordable system look like a million bucks.
First, think about the finish. A rich wood laminate will always look more luxurious than plain white or wire. Then, add some simple decorative trim or crown molding along the tops of the vertical panels. This little detail works wonders to create a truly built-in look.
Another huge impact comes from the hardware. Swap out the standard-issue drawer pulls and closet rods for something with more style, like a matte black or brushed brass finish. And for a final touch, install some simple LED strip lighting under the shelves. It’s an inexpensive addition that seriously elevates the look while making it easier to see and organize everything.
With these insights, you're all set to create a closet that works perfectly for you. And when it comes to making that new space even more efficient, don't forget how much the right hangers can help. Our team at MORALVE designed innovative hangers specifically to maximize every last inch of your closet.
Explore MORALVE’s collection of space-saving hangers and transform your closet today.
Leave a comment